Atari Jaguar to SNES Multiout AV – JAG2SNES
Posted on October 16, 2020
For the past several weeks I’ve been working with Helder Silva, a well known custom PCB maker (Minty Pi, Gameboy Zero, Sudomod), on an Atari Jaguar project. The idea behind this project was simple: adapt the Jaguar’s antiquated AV edge to a more common and readily available socket. I can’t think of any more common socket in the retro gaming scene than Nintendo’s “Multiout” port. Not only are Multiout cables readily available but they also carry all the signal lines needed in a single cable. That means Composite, Sync, Red, Green, Blue, 5v, left and right audio, and even Luma and Chroma for S-Video support. Who could ask for anything more!
Prototyping

I passed the idea of this adapter to Helder and within a few hours he had a prototype PCB setup in Eagle. Once the board layout was finalize, I started working on the shell design. I fired up AutoDesk’s Fusion 360 and got to work on my part. I’m a bit of a perfectionist with anything I’m designing, especially for public use, so I went through a few prototype shells before I was happy with it.

Those Damn Tabs!
One of the harder parts about designing something that mimics the official Multiout connector are the little tabs inside the connector that “latch” onto the actual male end of the cable. I’m by no means the first, second, or 100th person to make a Multiout socket in AutoCAD but many of the existing sockets out there get this part wrong or omit it entirely from their design. This small detail is really important though if you want your cable locked tightly in the socket. Two things I kept in mind while working: I’m printing using an FDM (Fused filament fabrication) 3D Printer from the bottom up and this shell needs to be two parts. Knowing that, I decided to engineer my own tab design that come up from the bottom of the socket instead of the back like the original Multiout. This provided a lot more strength for two tiny 3mm pieces of plastic that would need to stand up to hundreds of cable inserts.
Once the Multiout end was engineered and several test prints later, I had a design that felt as solid.


Testing the Prototype PCB
After some time, Helder’s PCBs came in from the fabricator then off to me for testing. I had several use cases I felt were common and mandatory for vetting out the JAG2SNES adapter. First and foremost, it needed to work straight through to a CRT as well as, or better, than the original AV cables that came with my Jag. Secondly, the JAG2SNES needed to be able to work with RGB Scart cables and HD Retrovision cables through a upscaler like the OSSC. After hours of testing on various 1080P, 2k, and 4K TVs and monitors I was satisfied that this adapter worked as intended.
The Final Product

It’s truly amazing how sharp the Jaguar games look through the OSSC when the settings are dialed in. This is my preferred method of playing the Jaguar now! The JAG2SNES Atari Jaguar to SNES AV adapter can be purchased directly from Helder’s website for $25 + shipping:
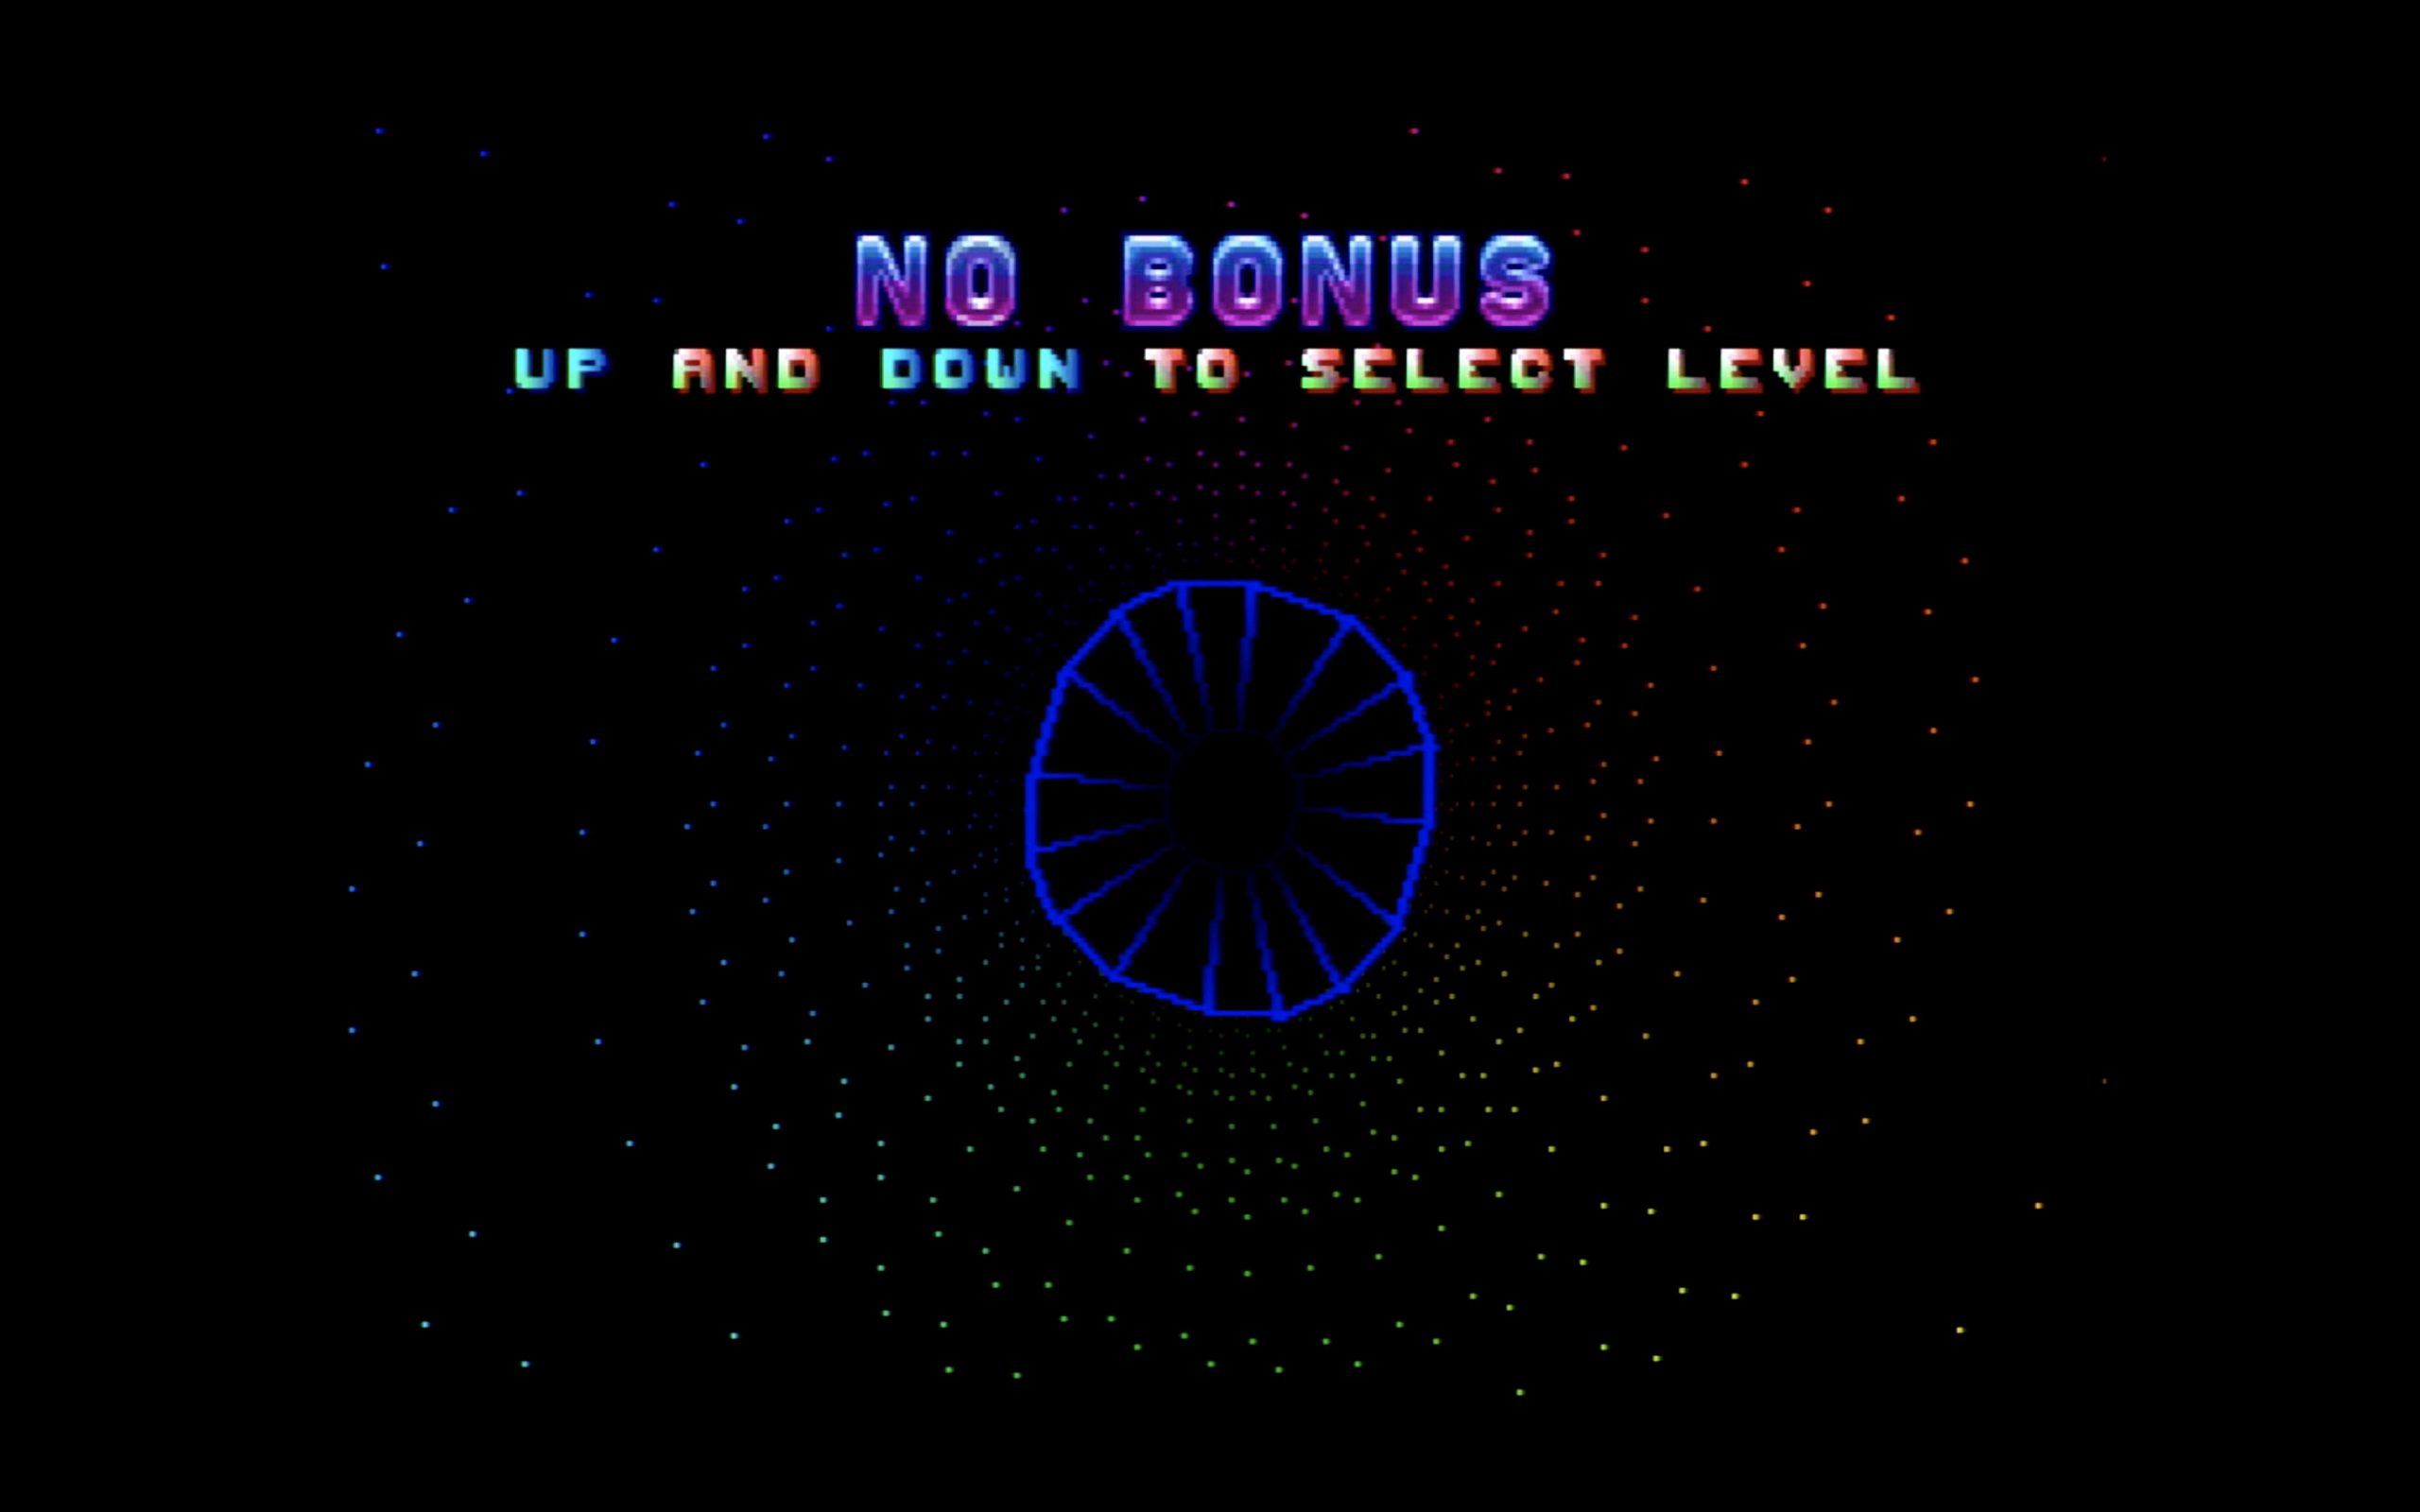
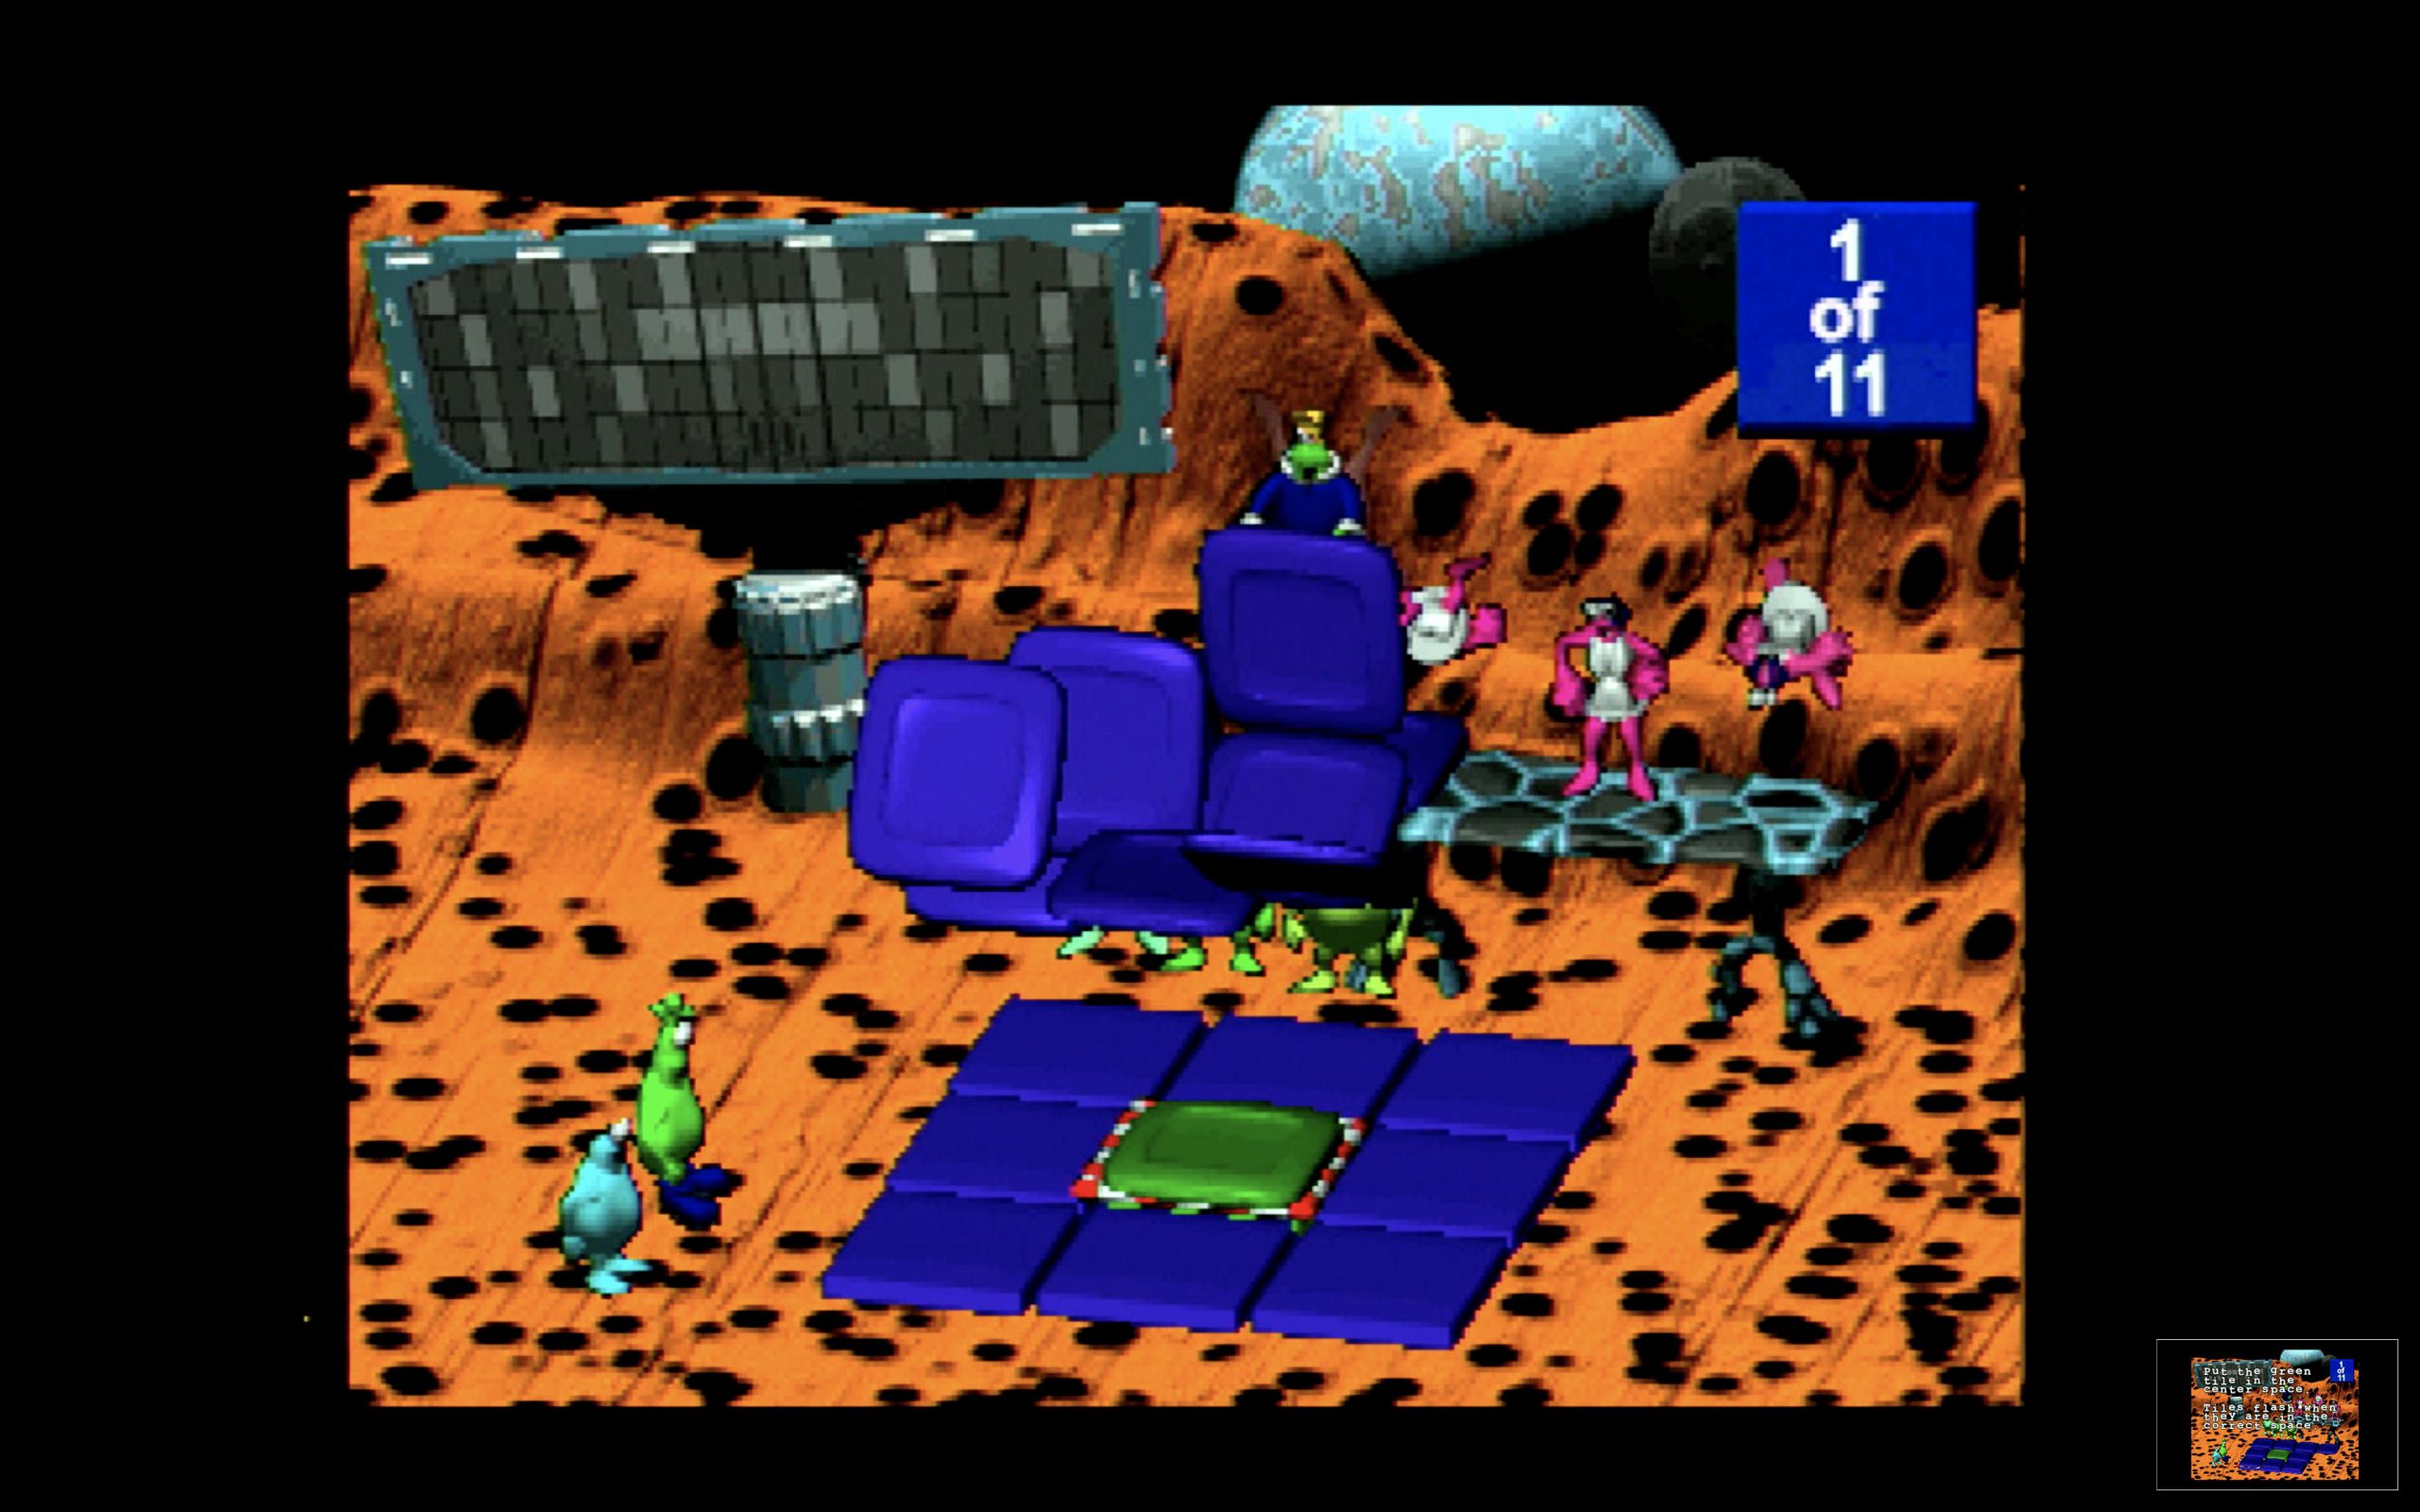
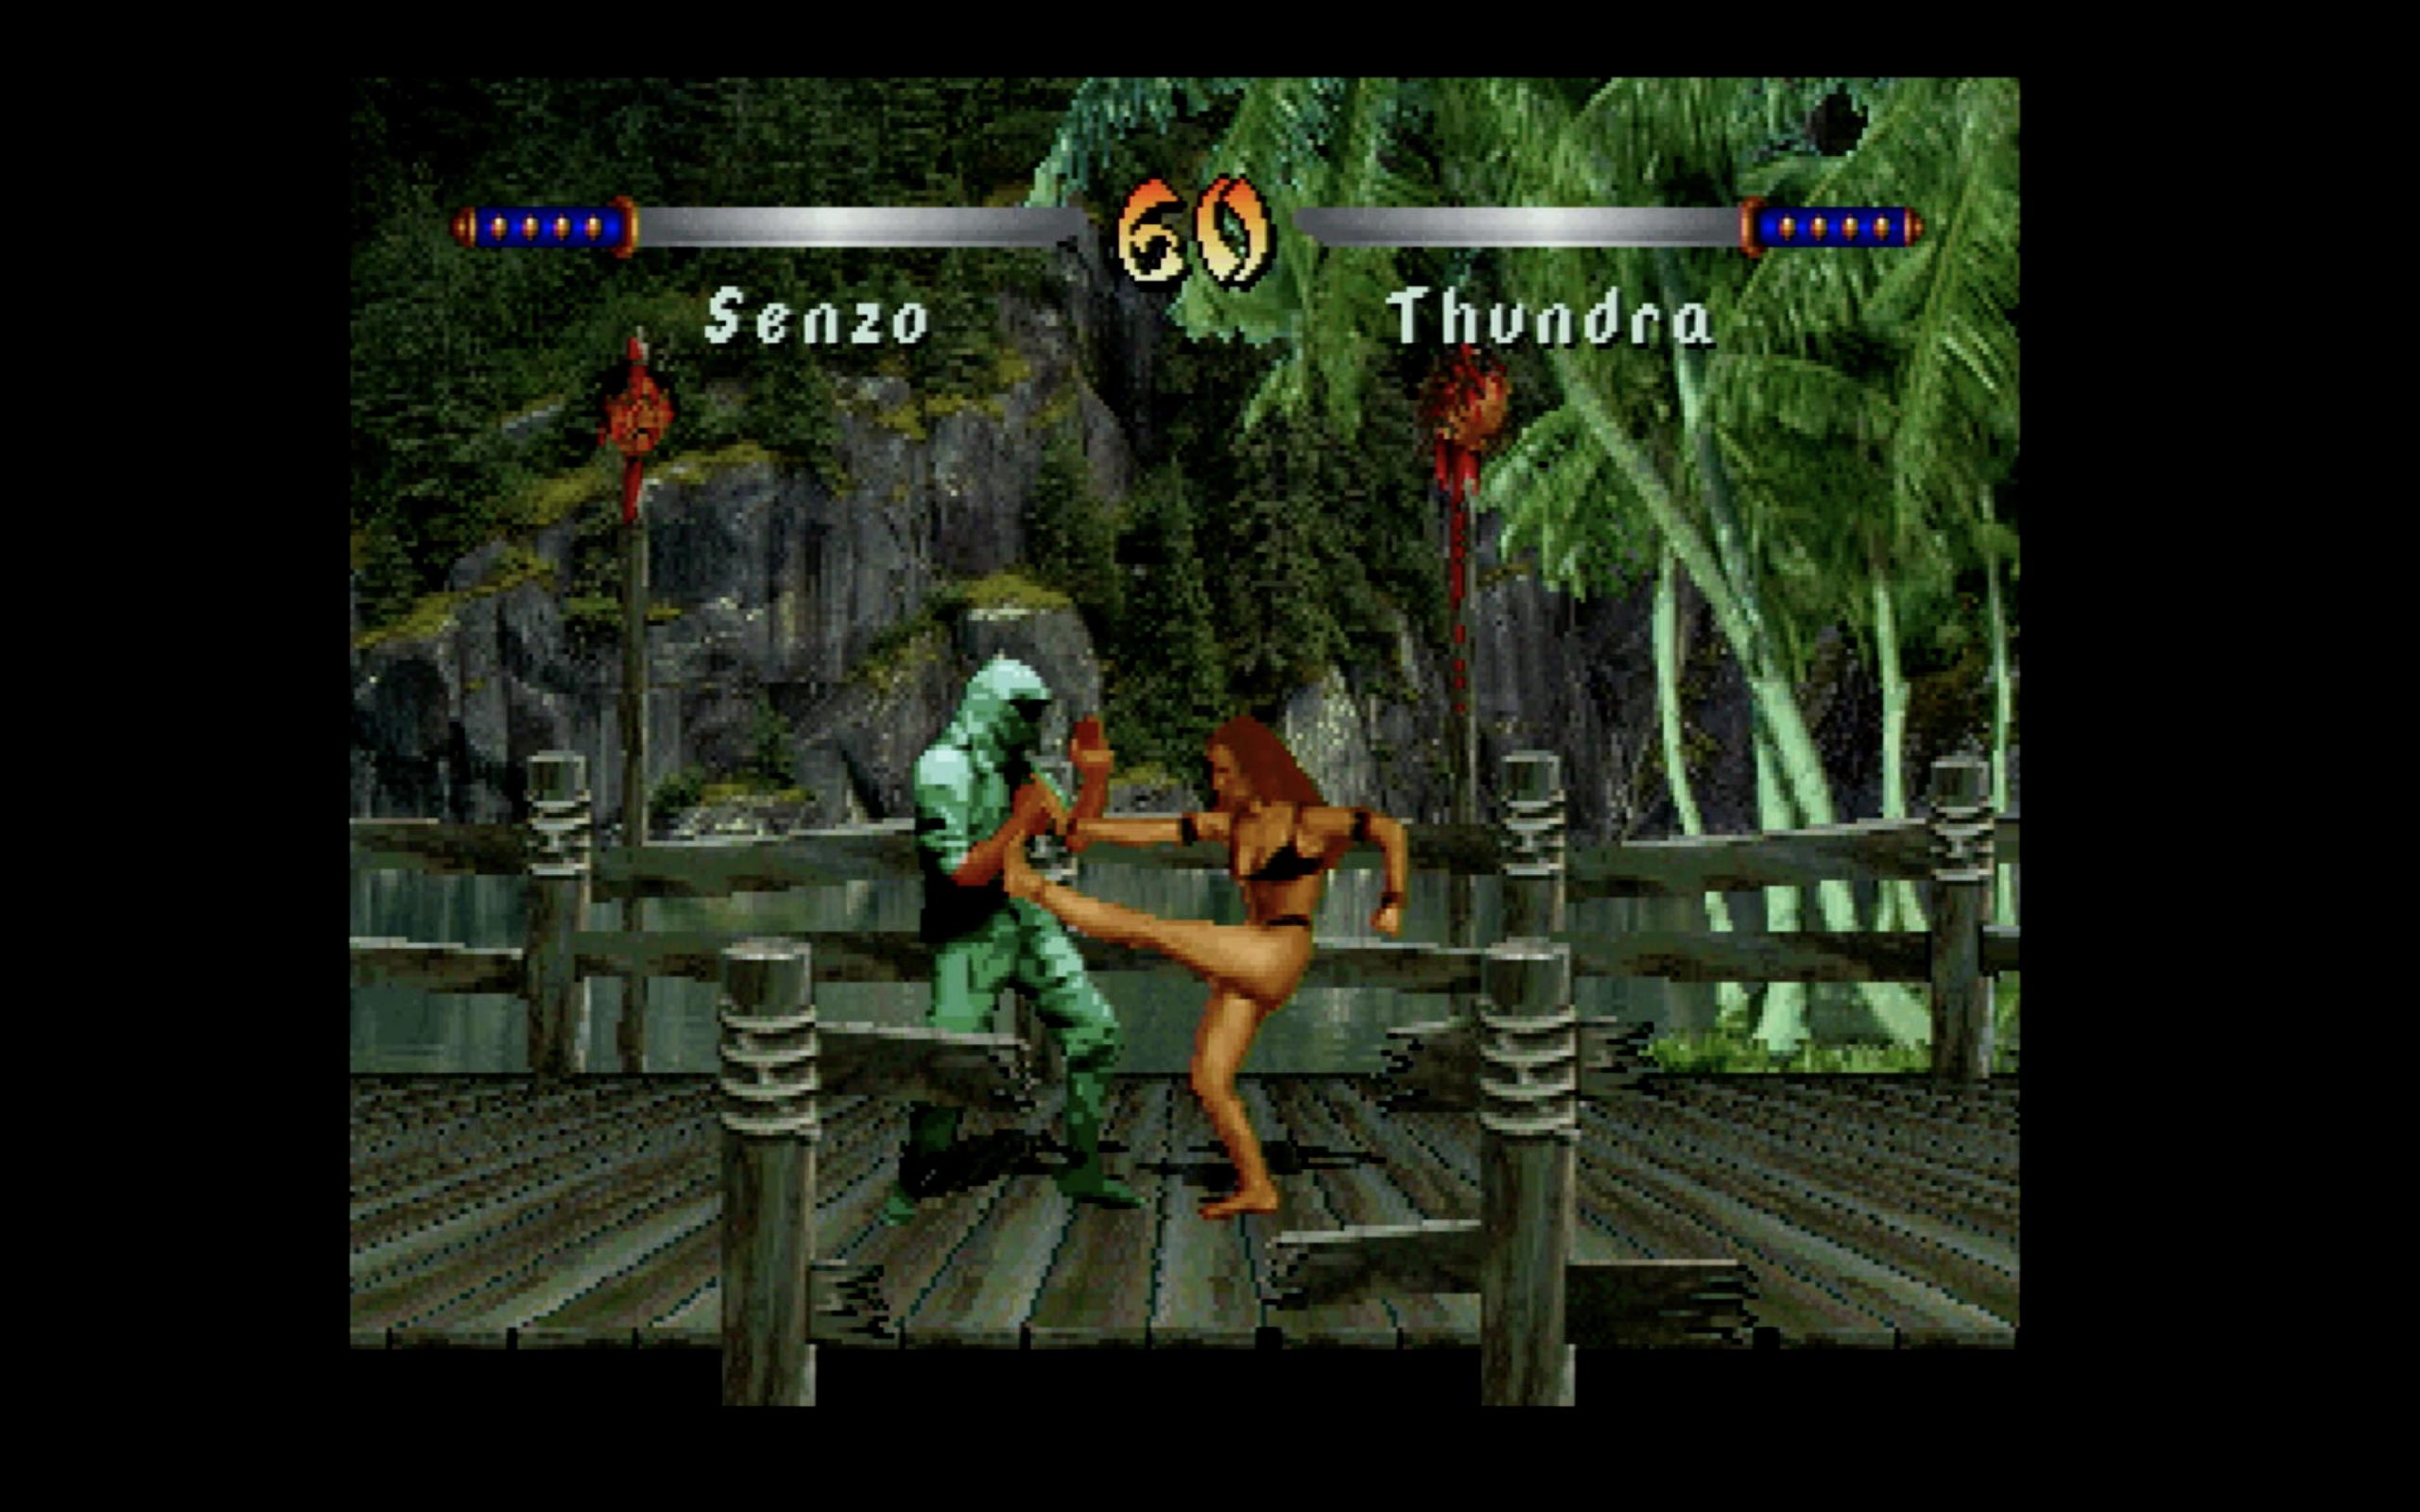
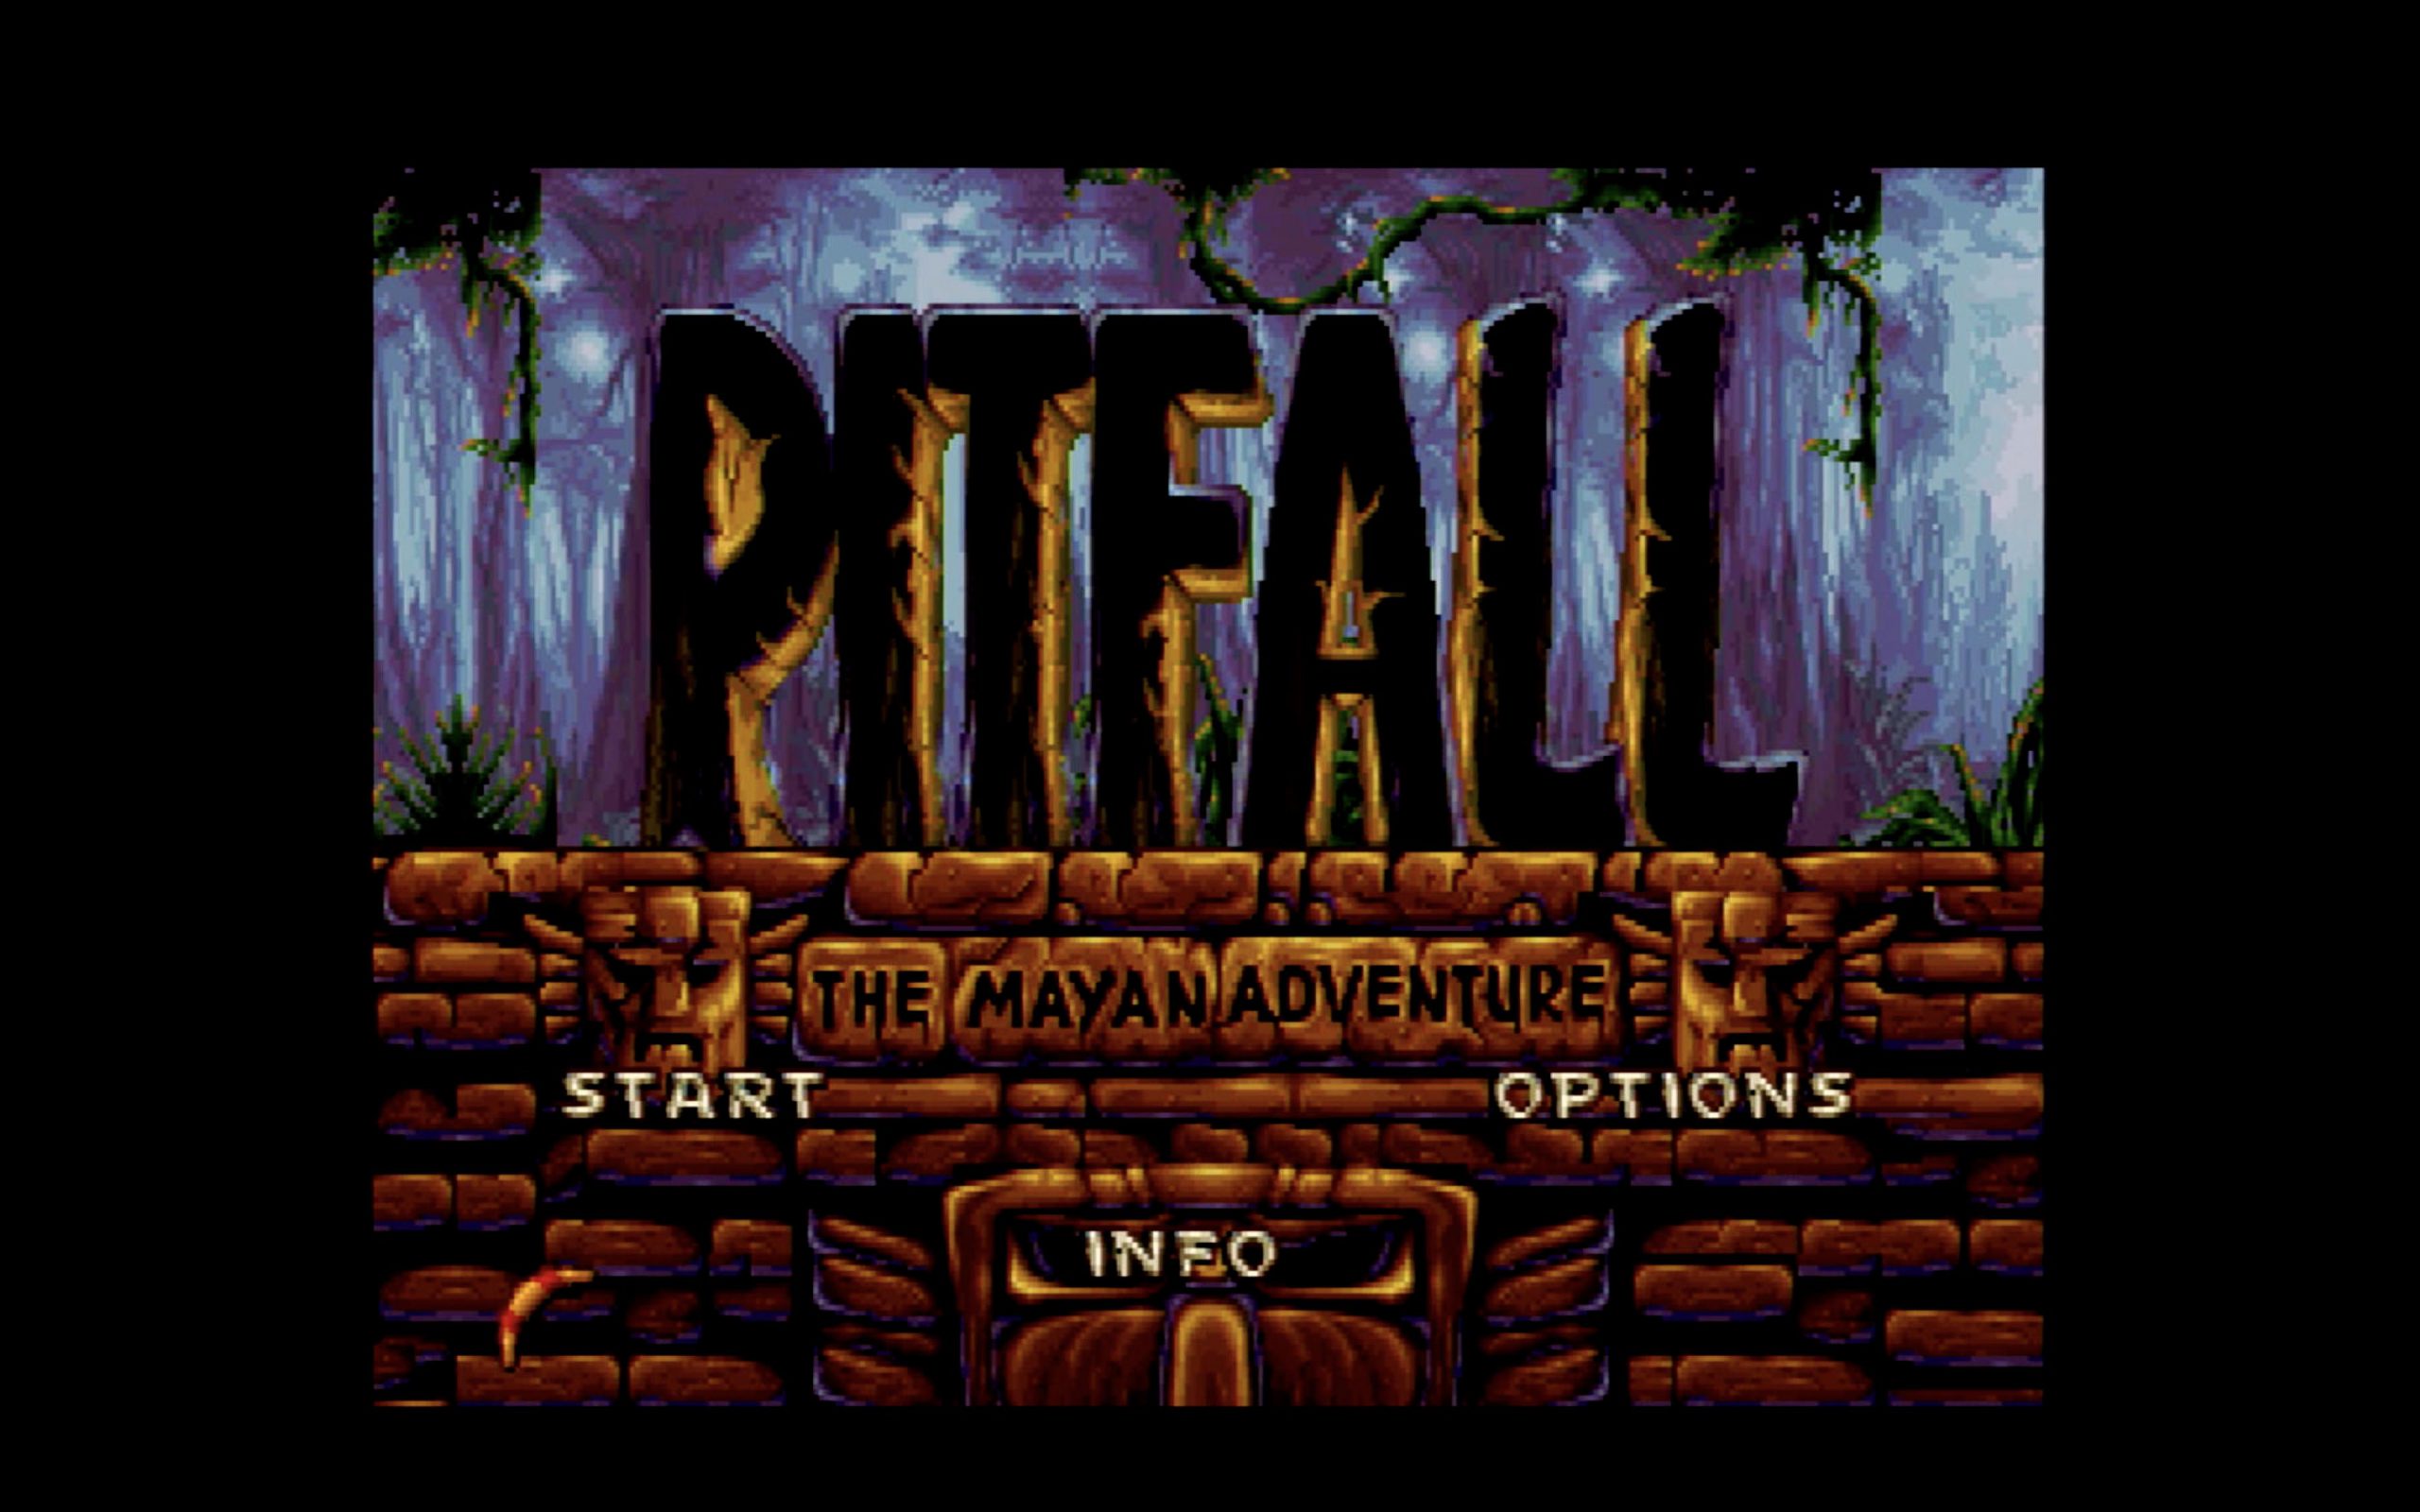
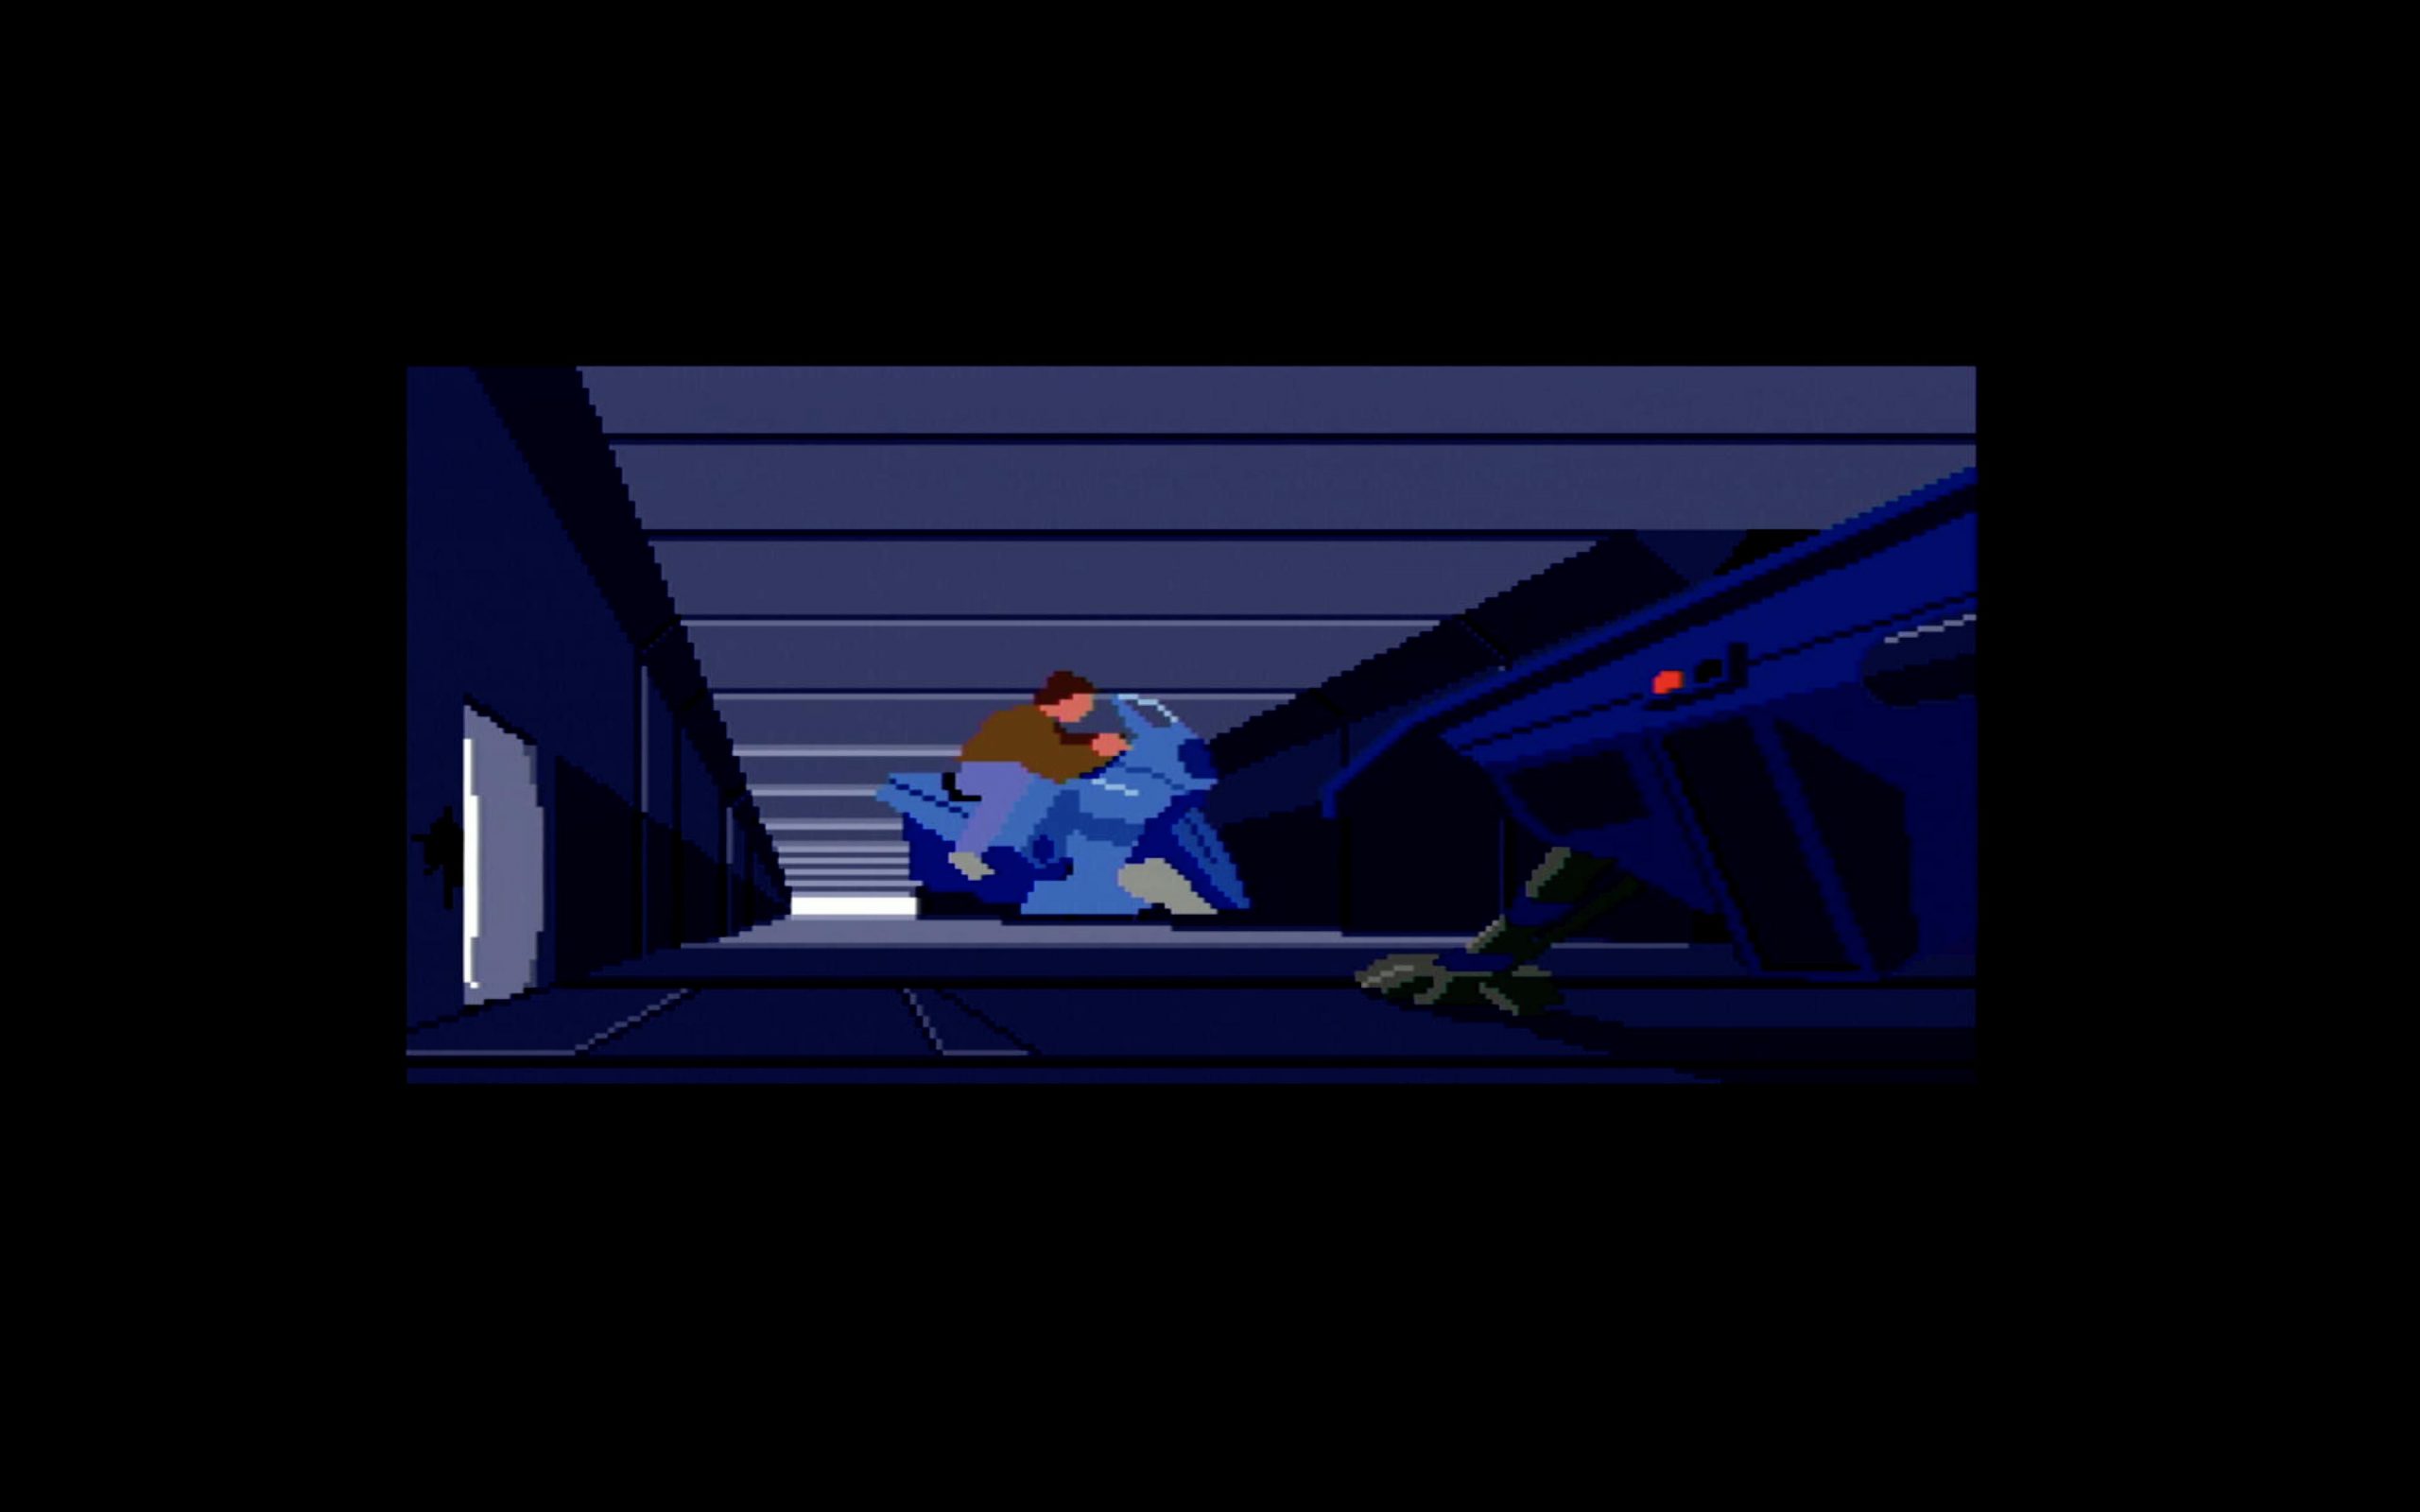
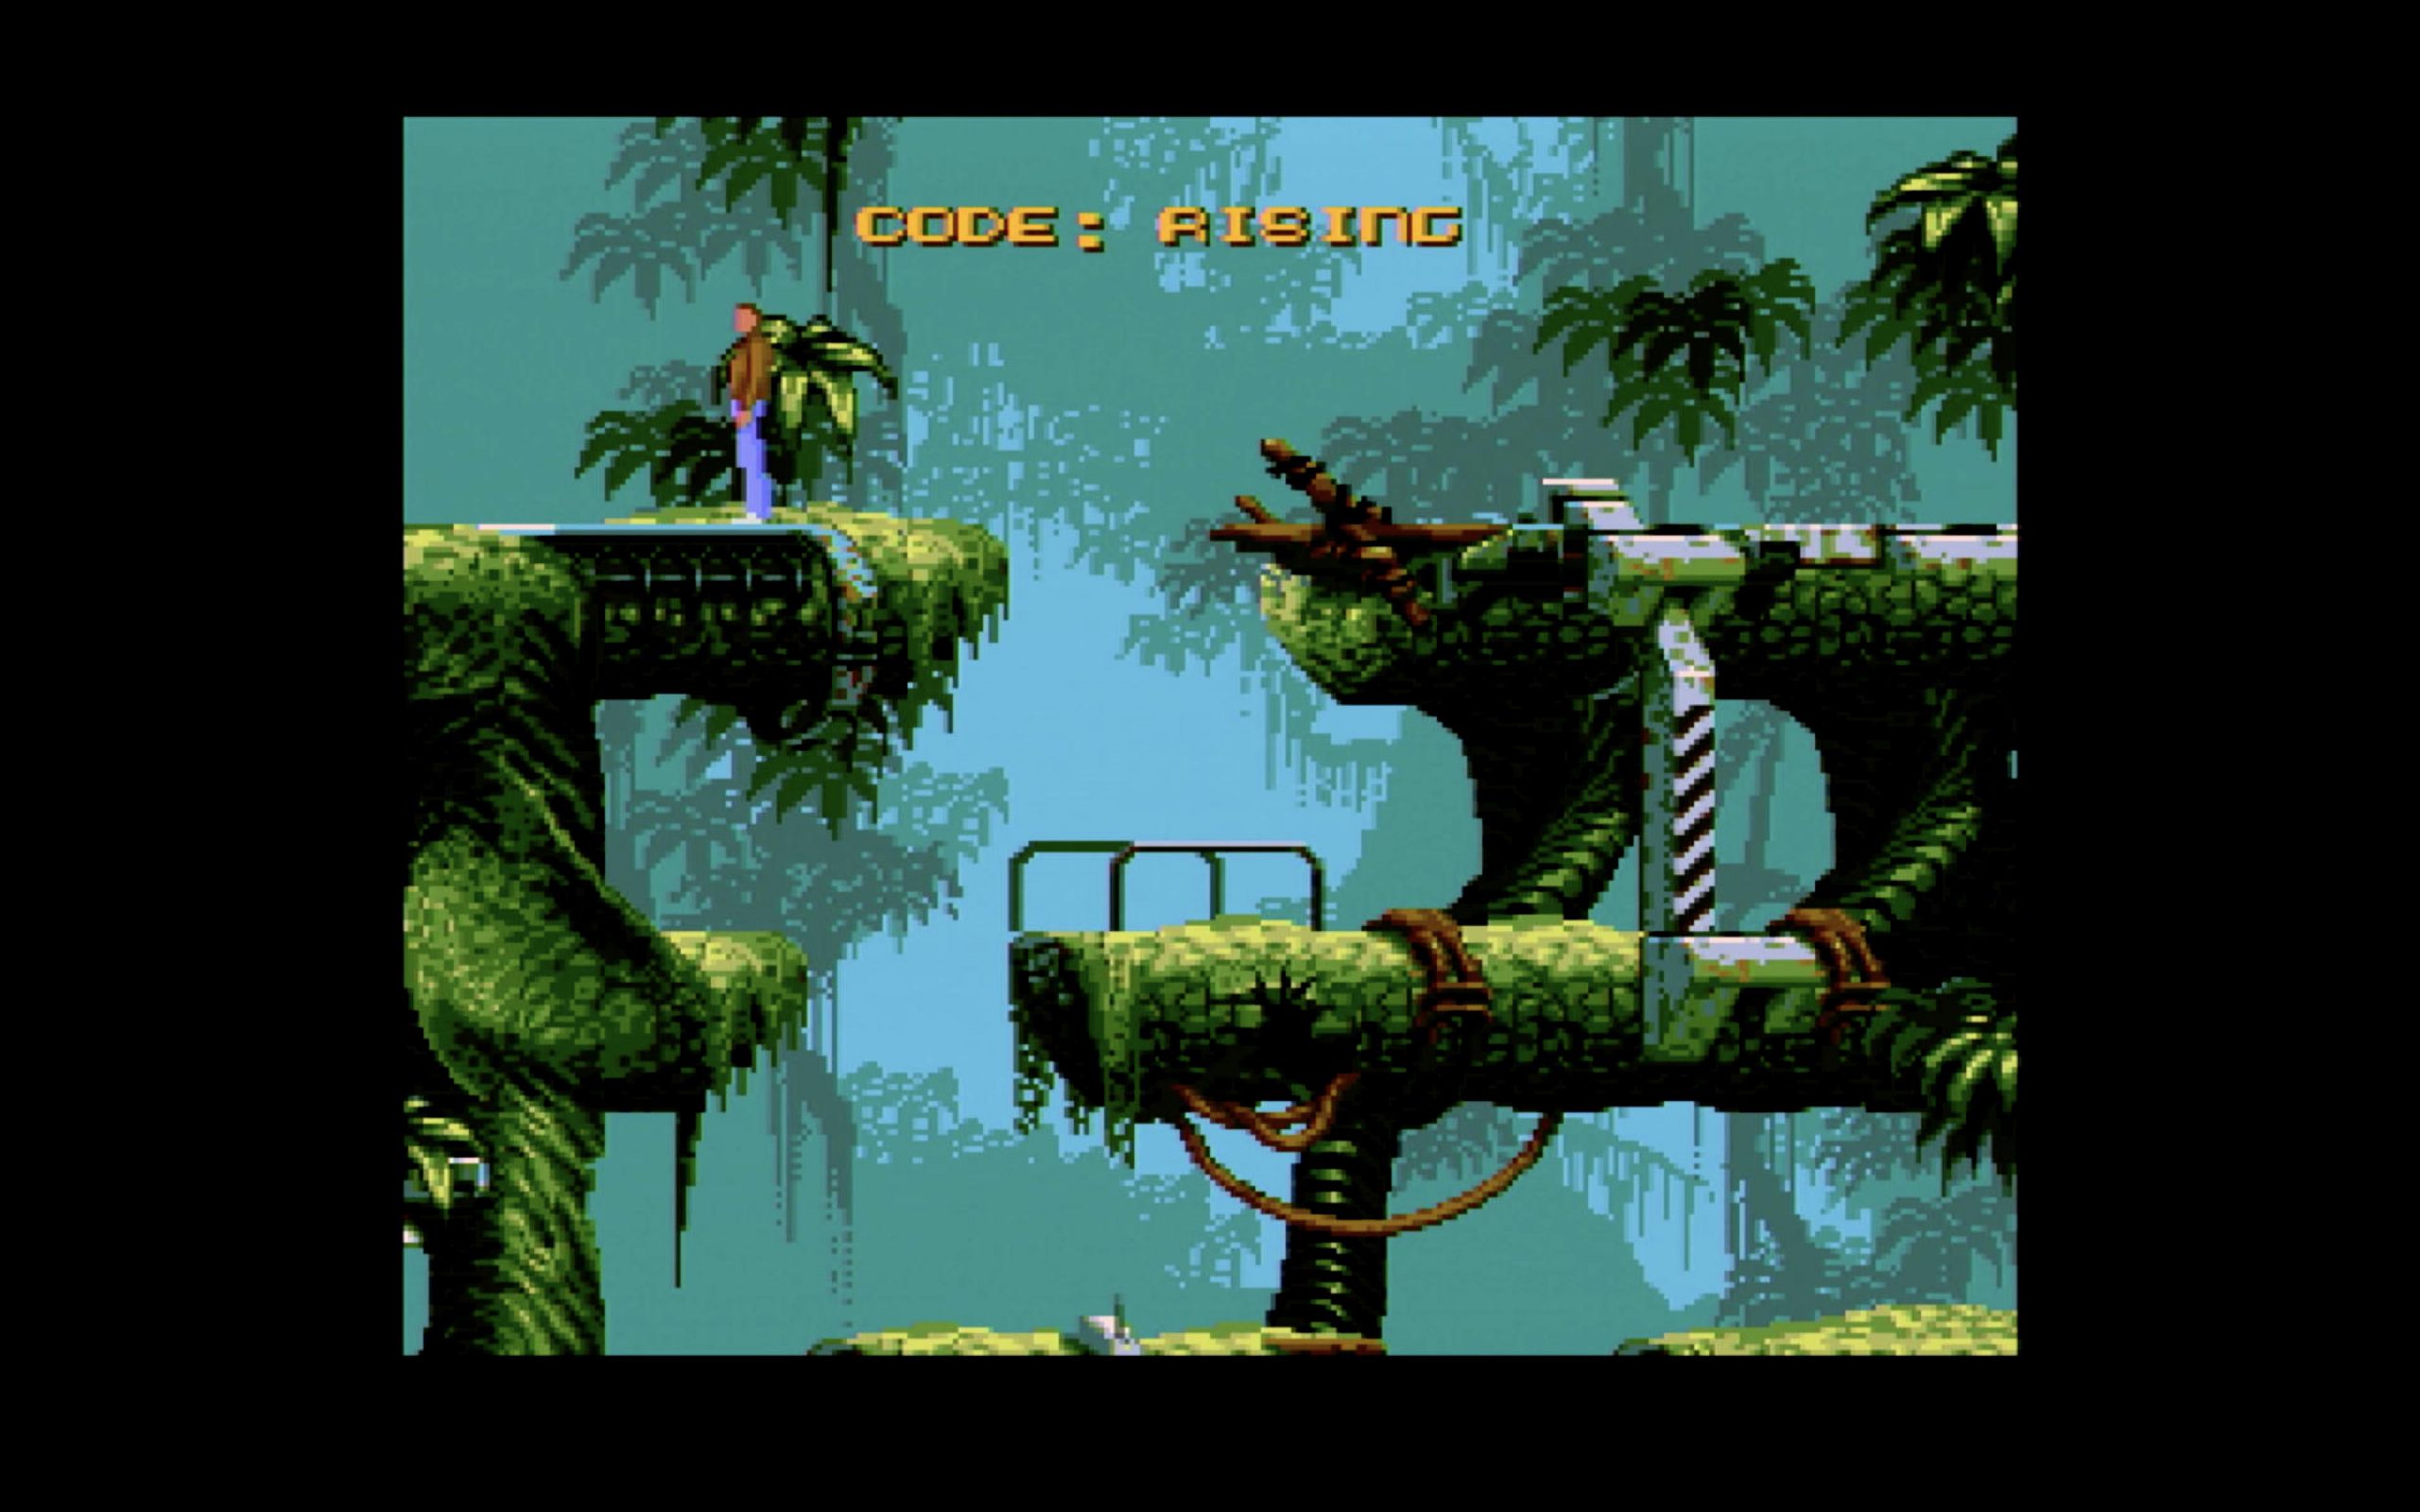
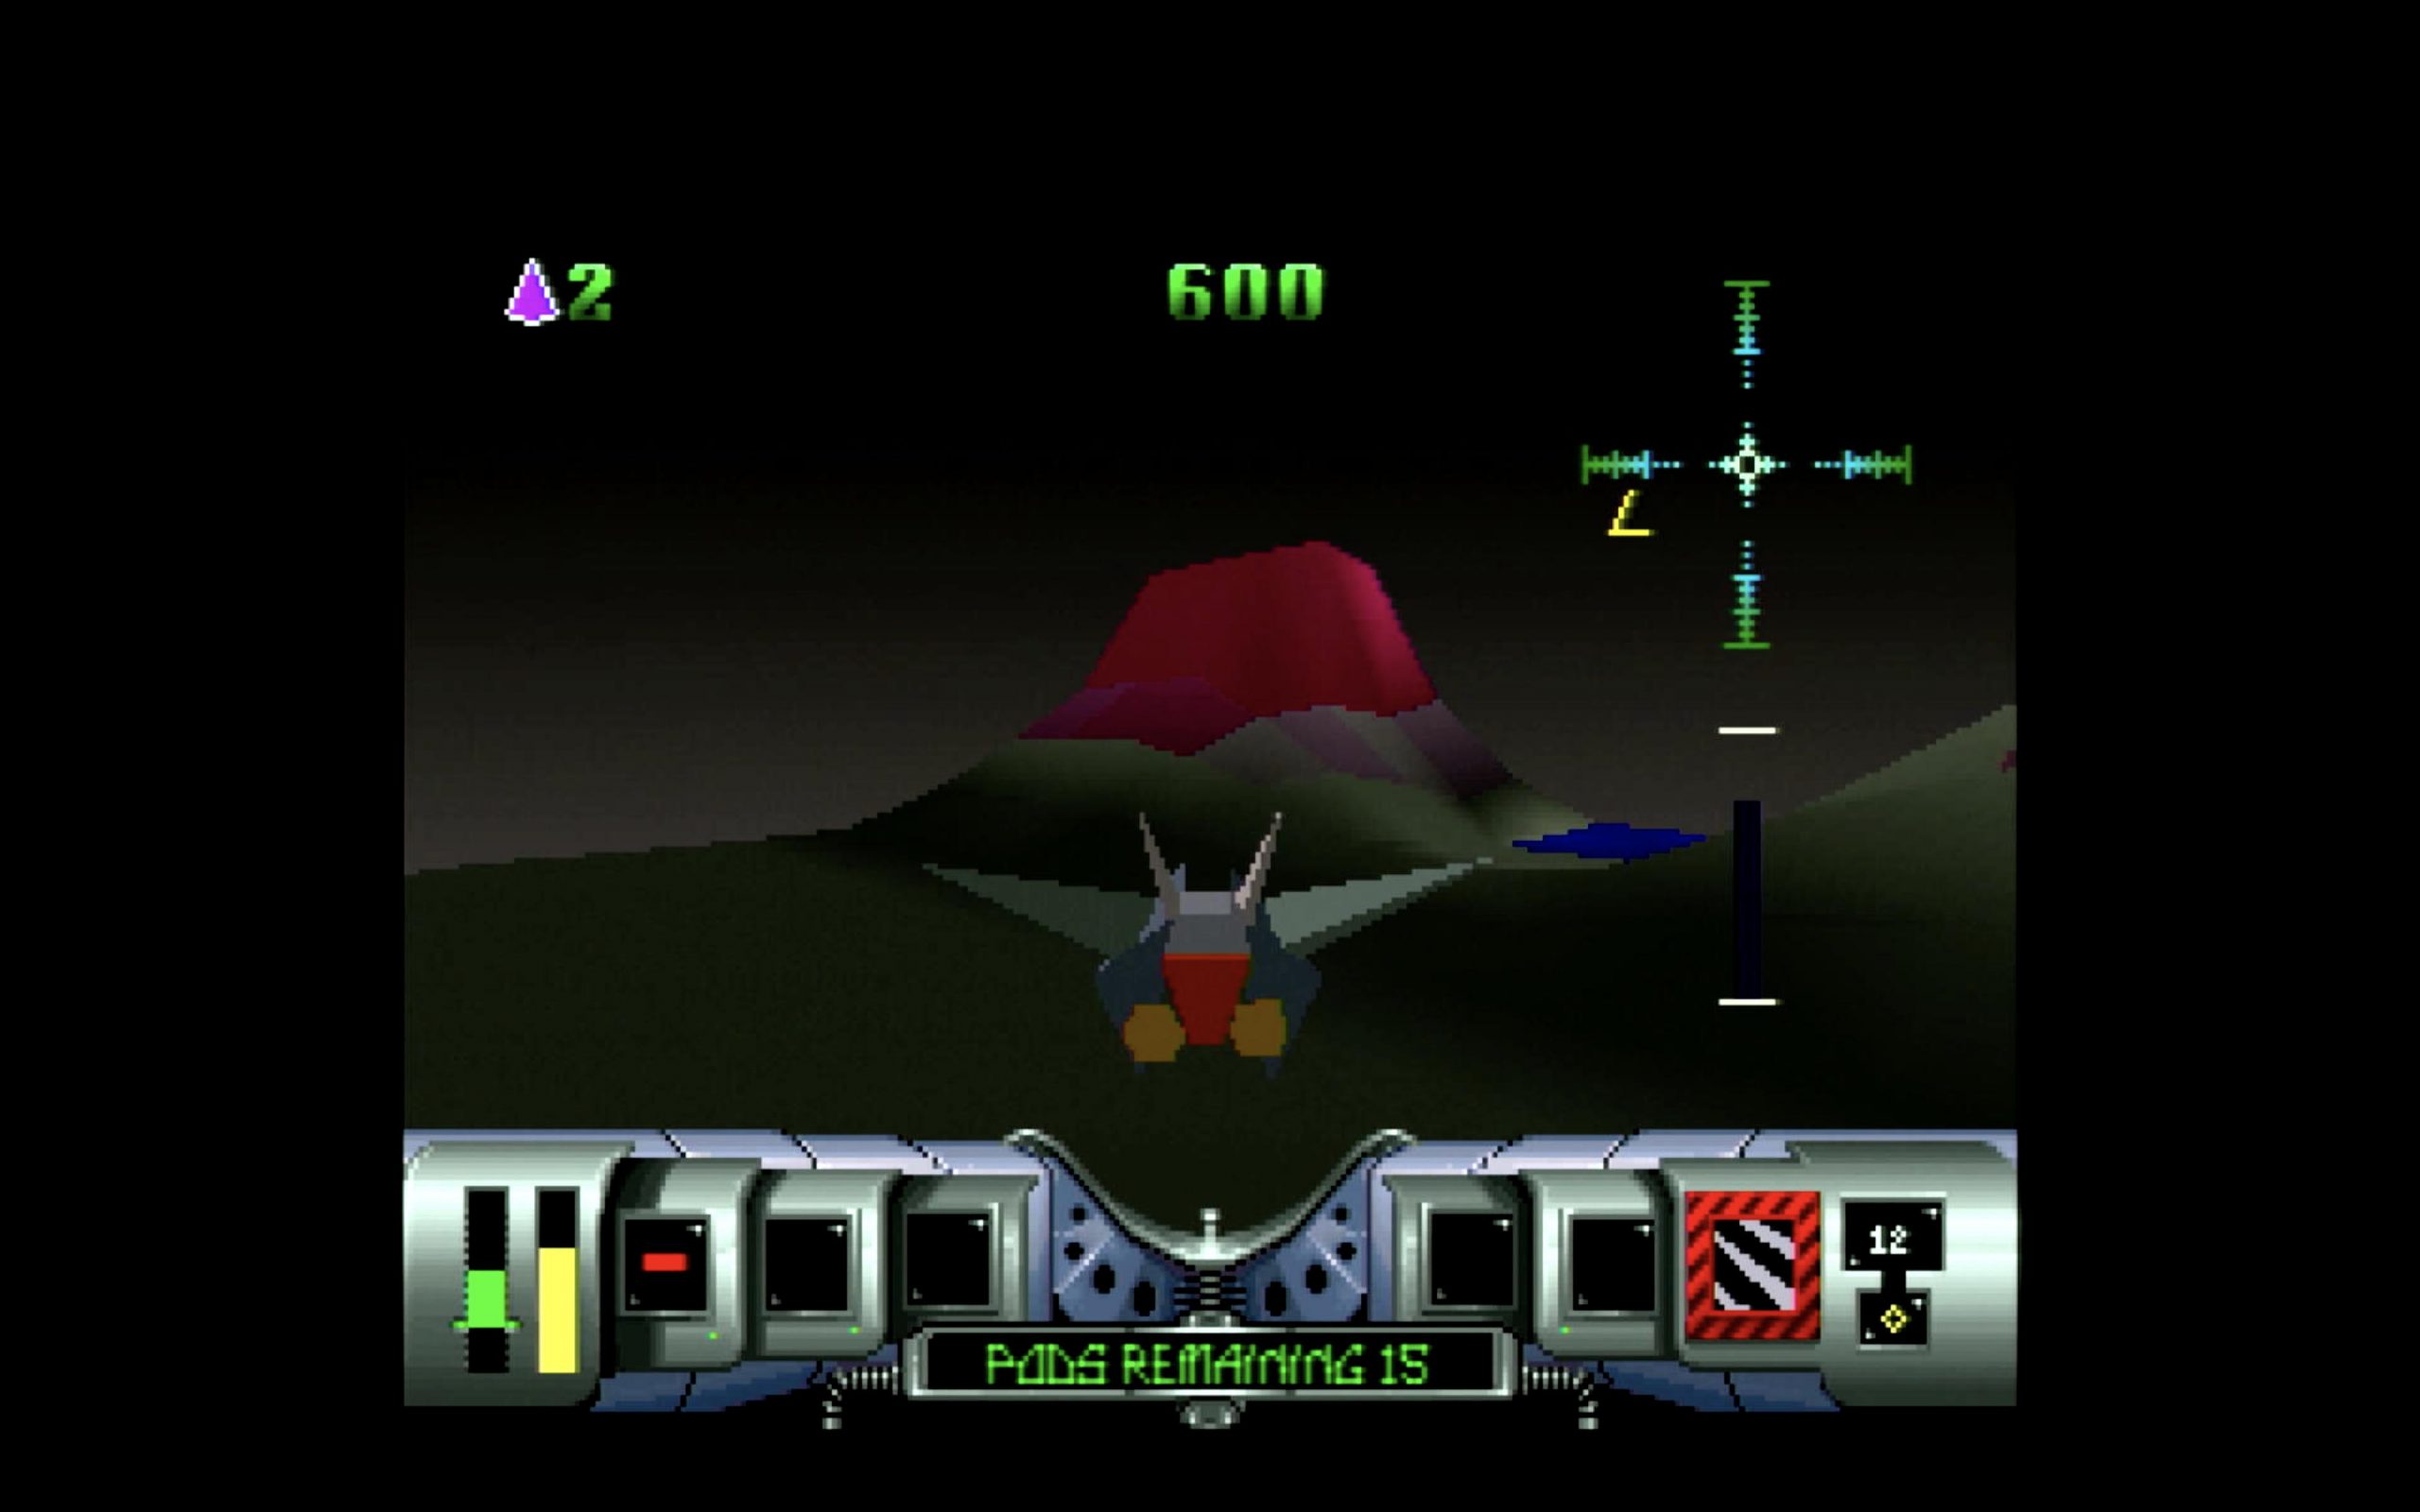
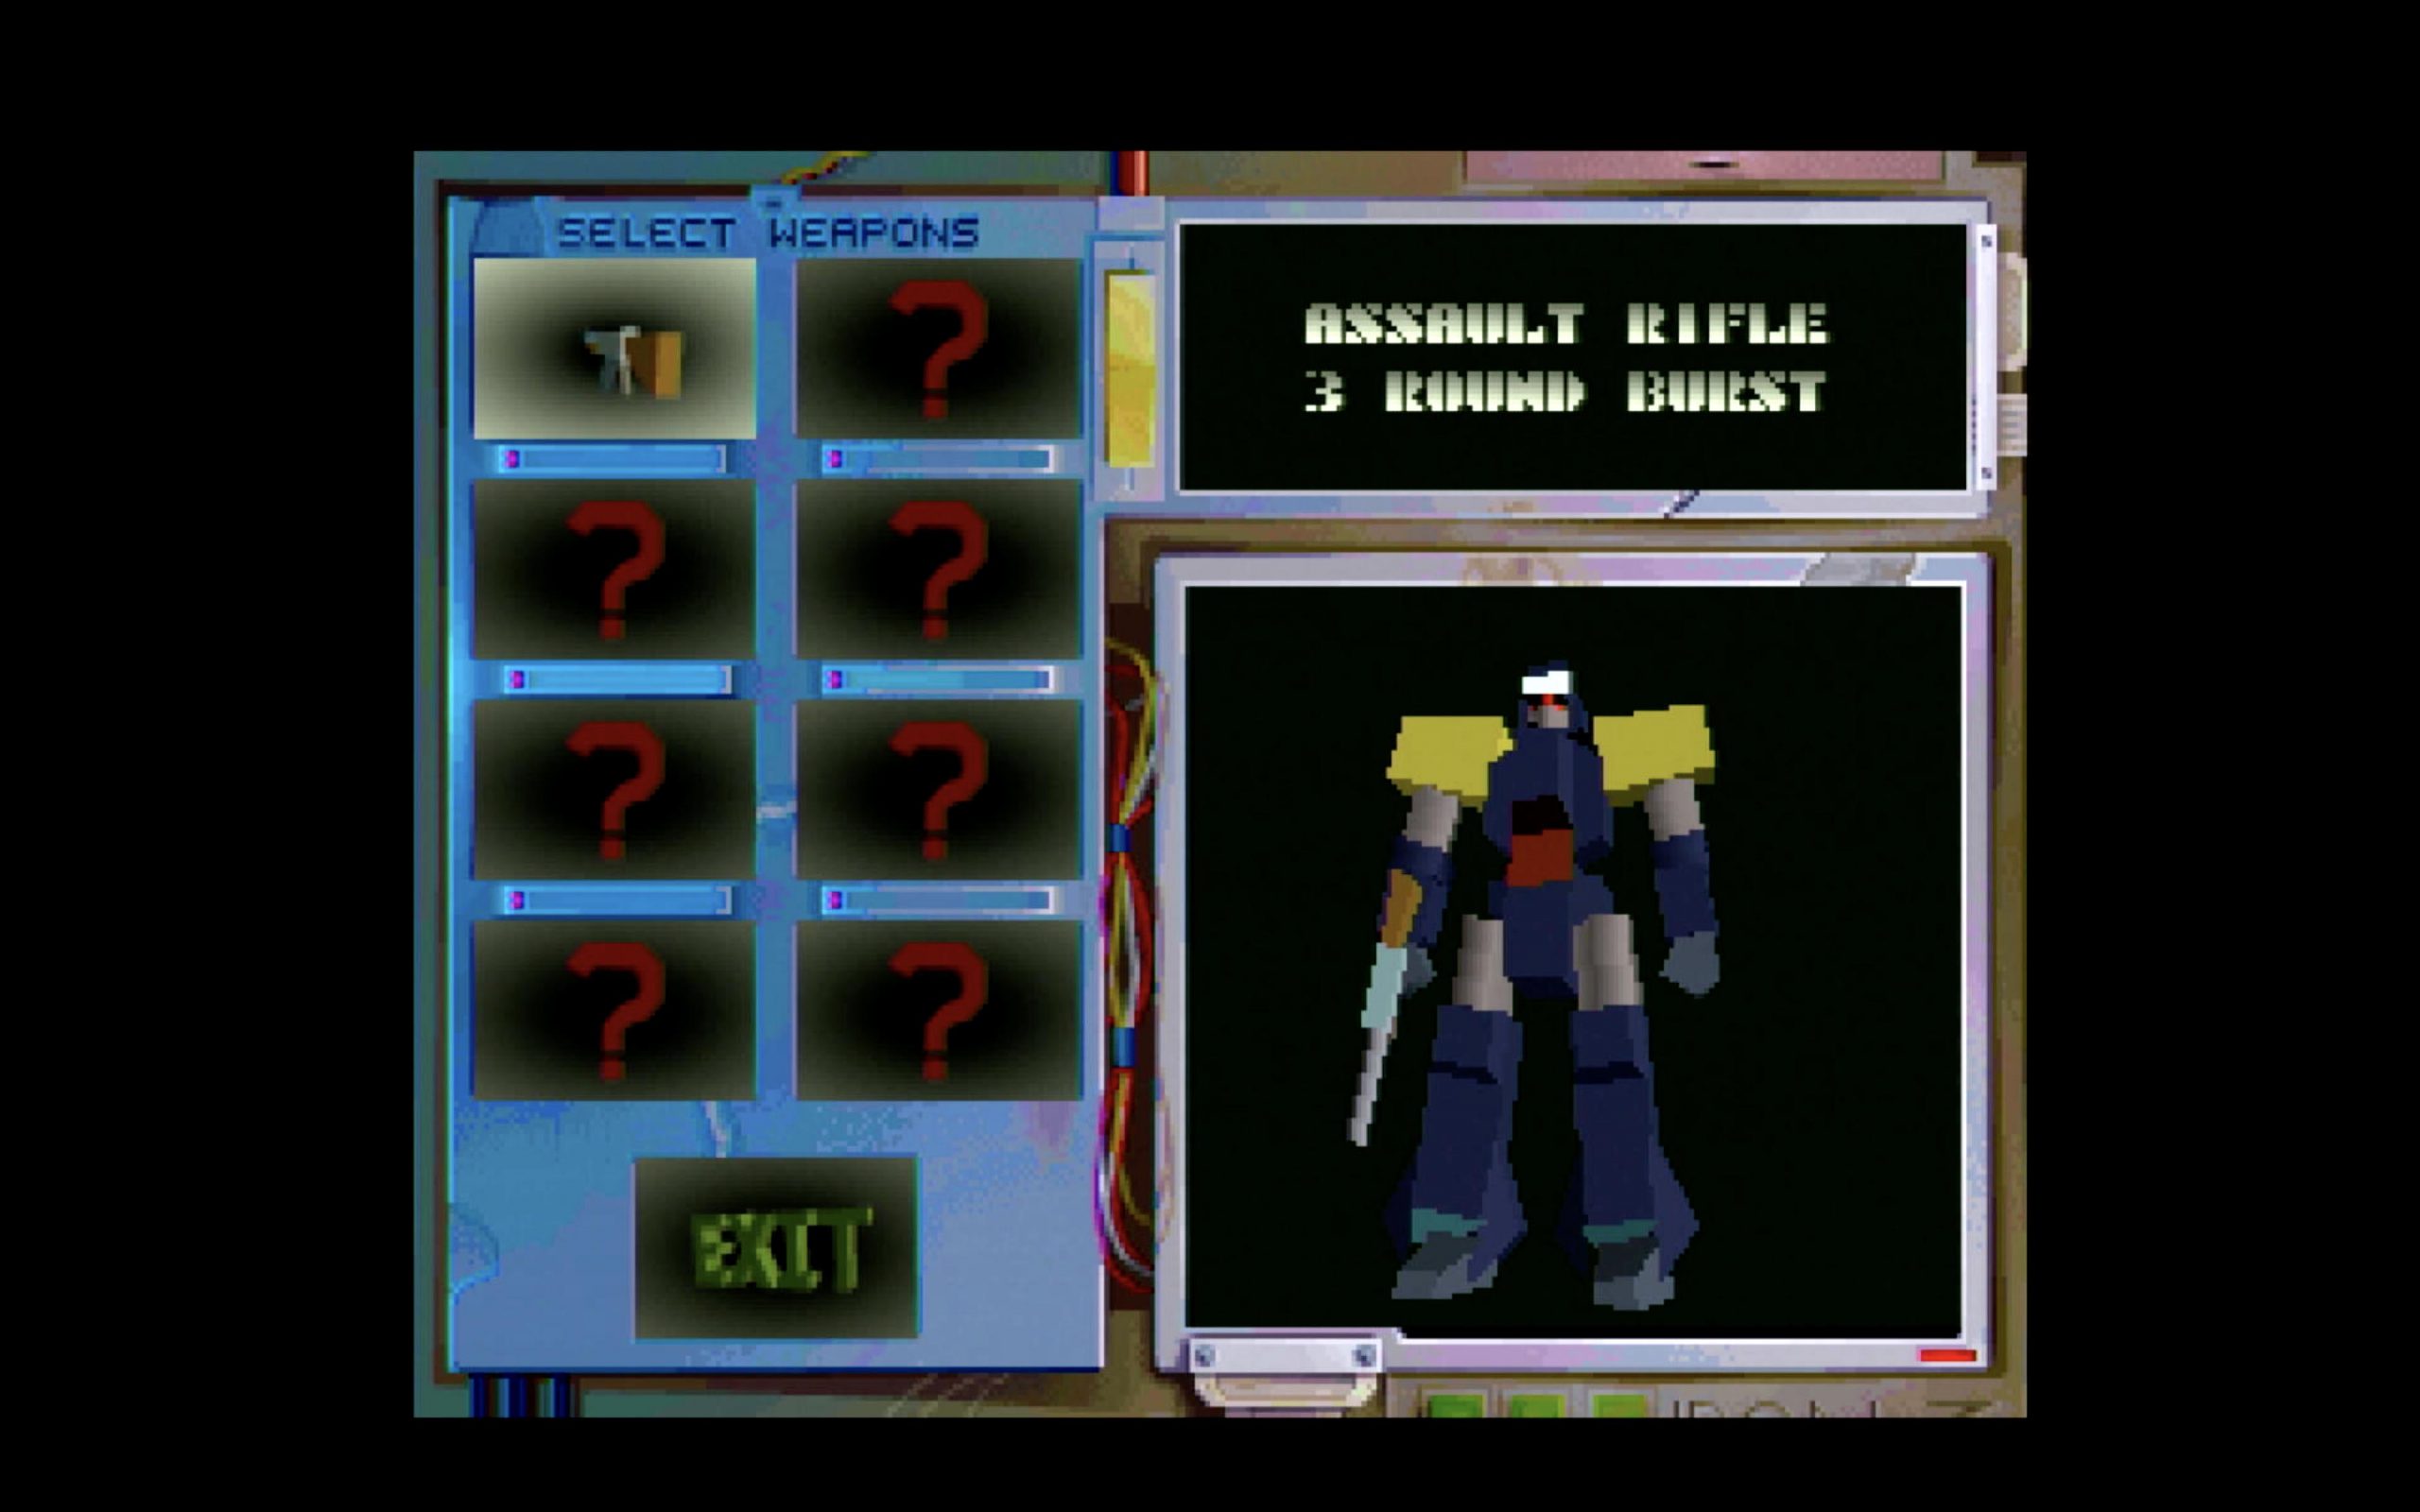
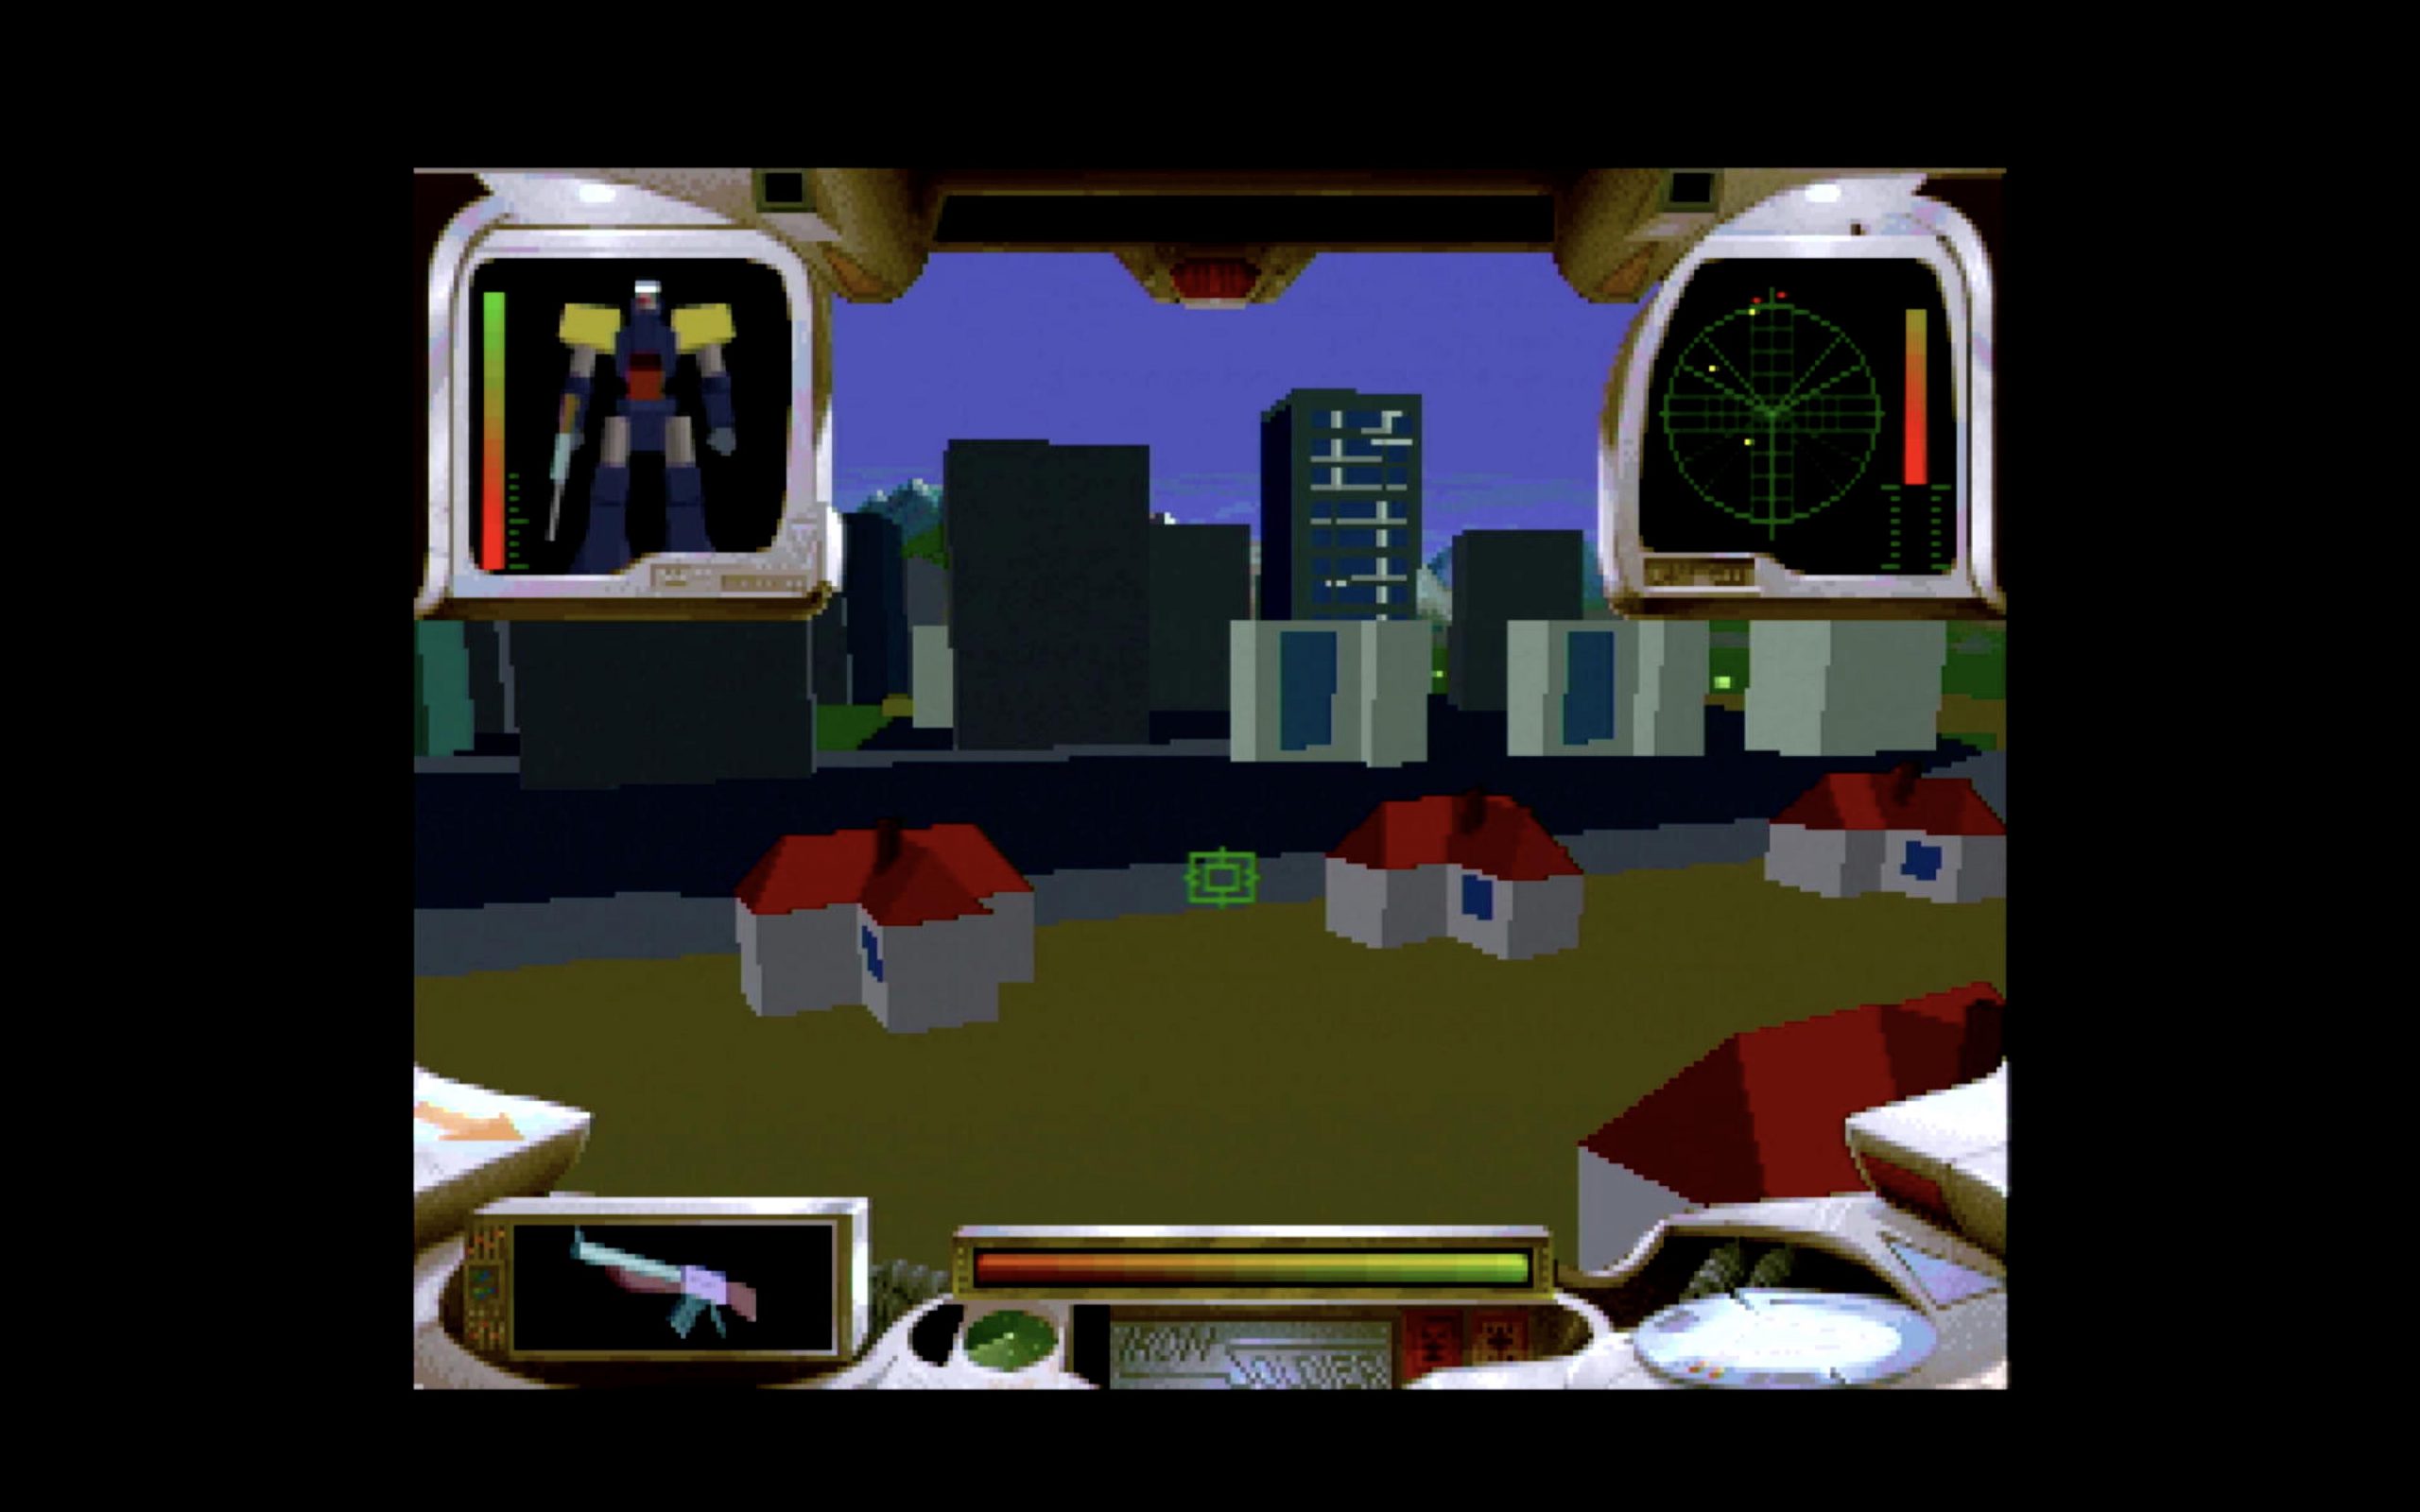
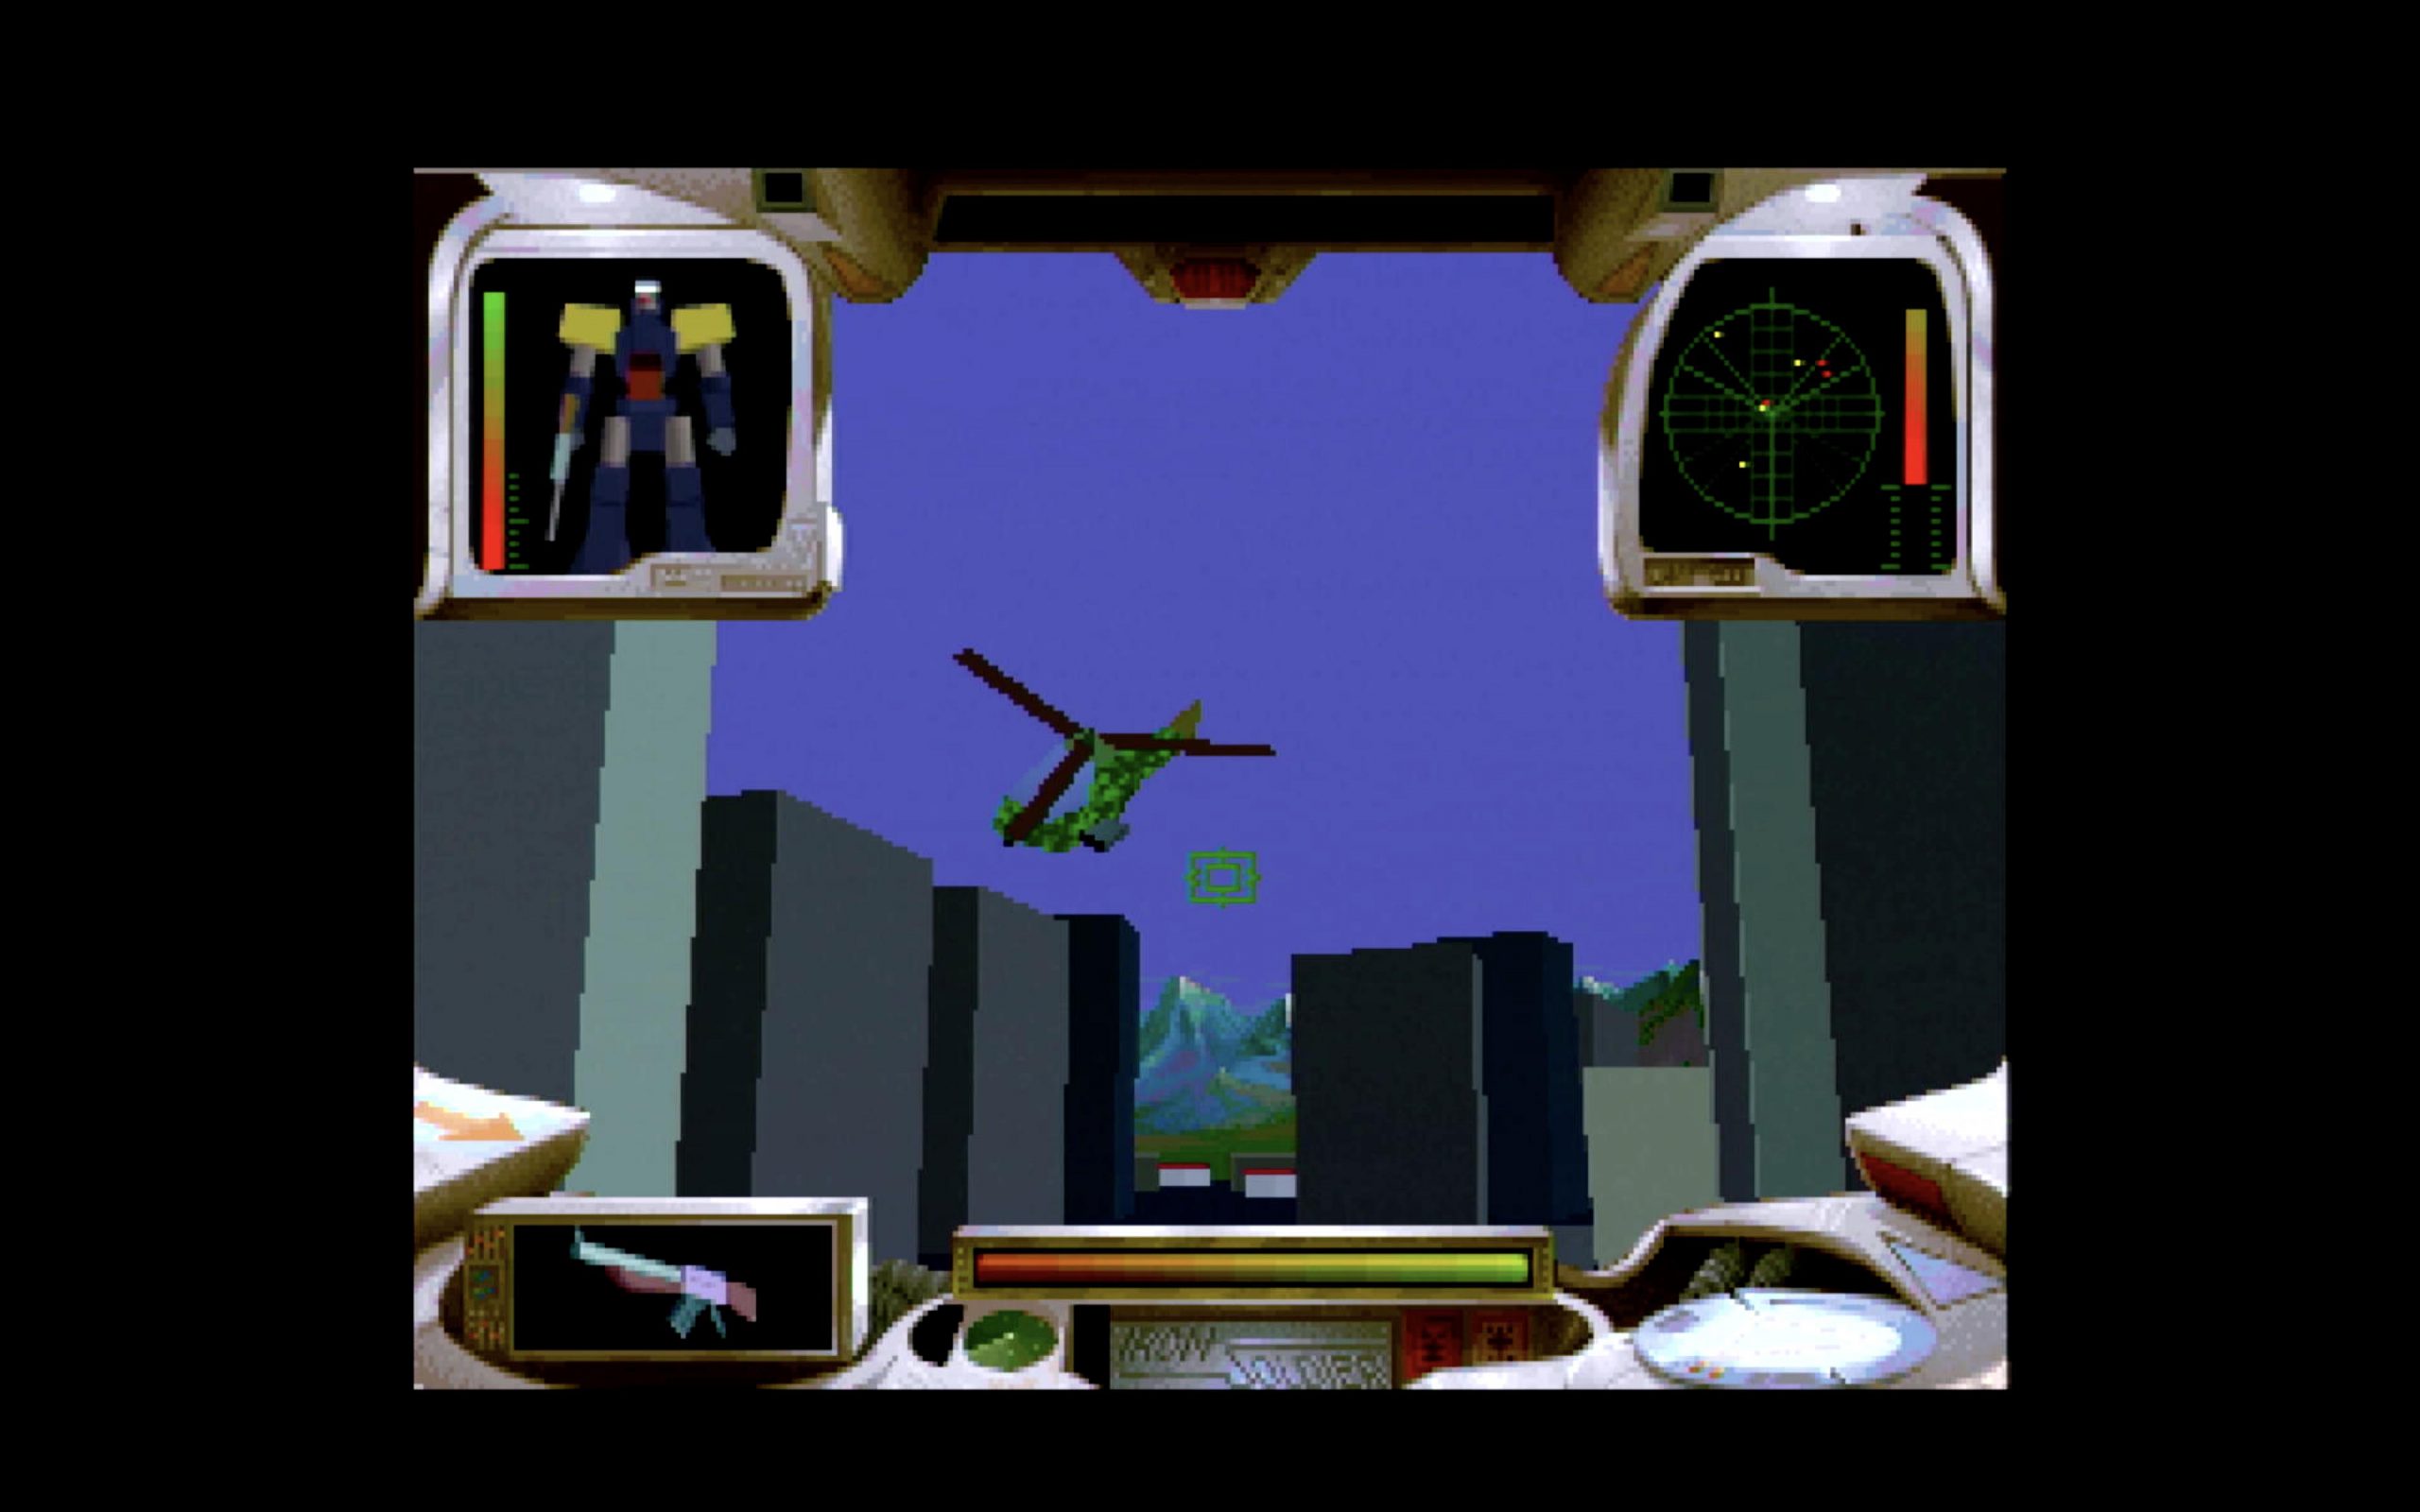
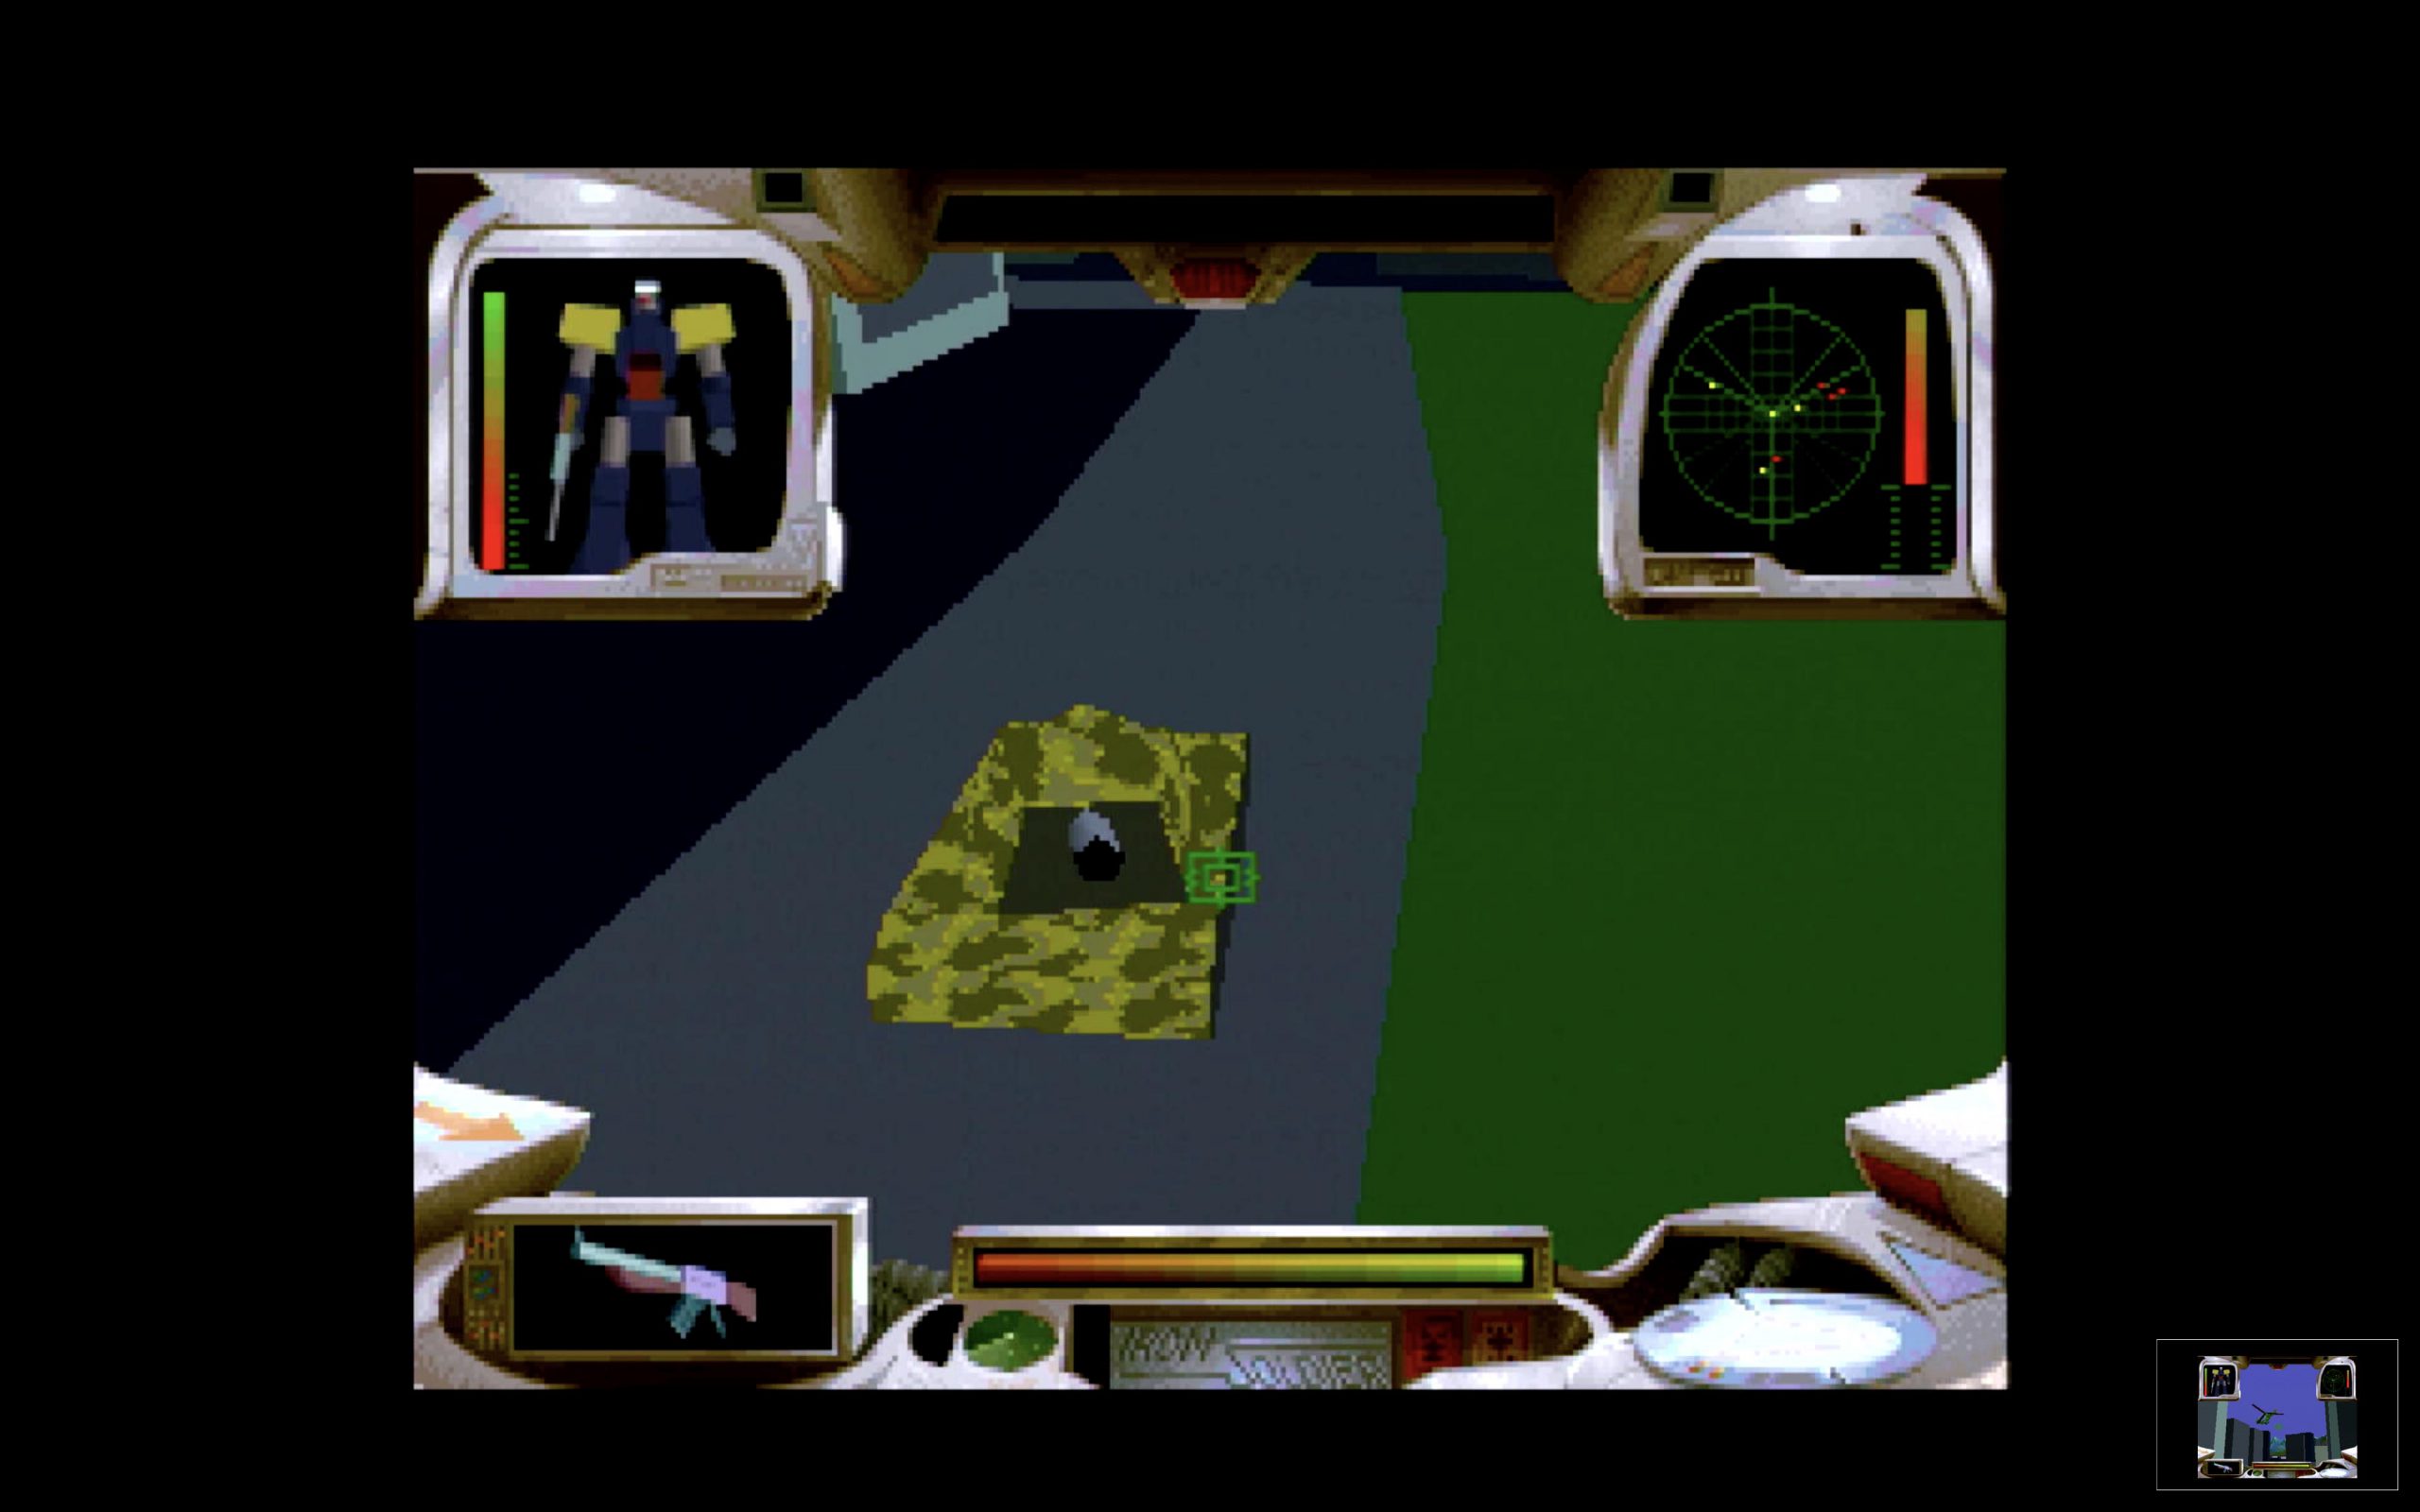
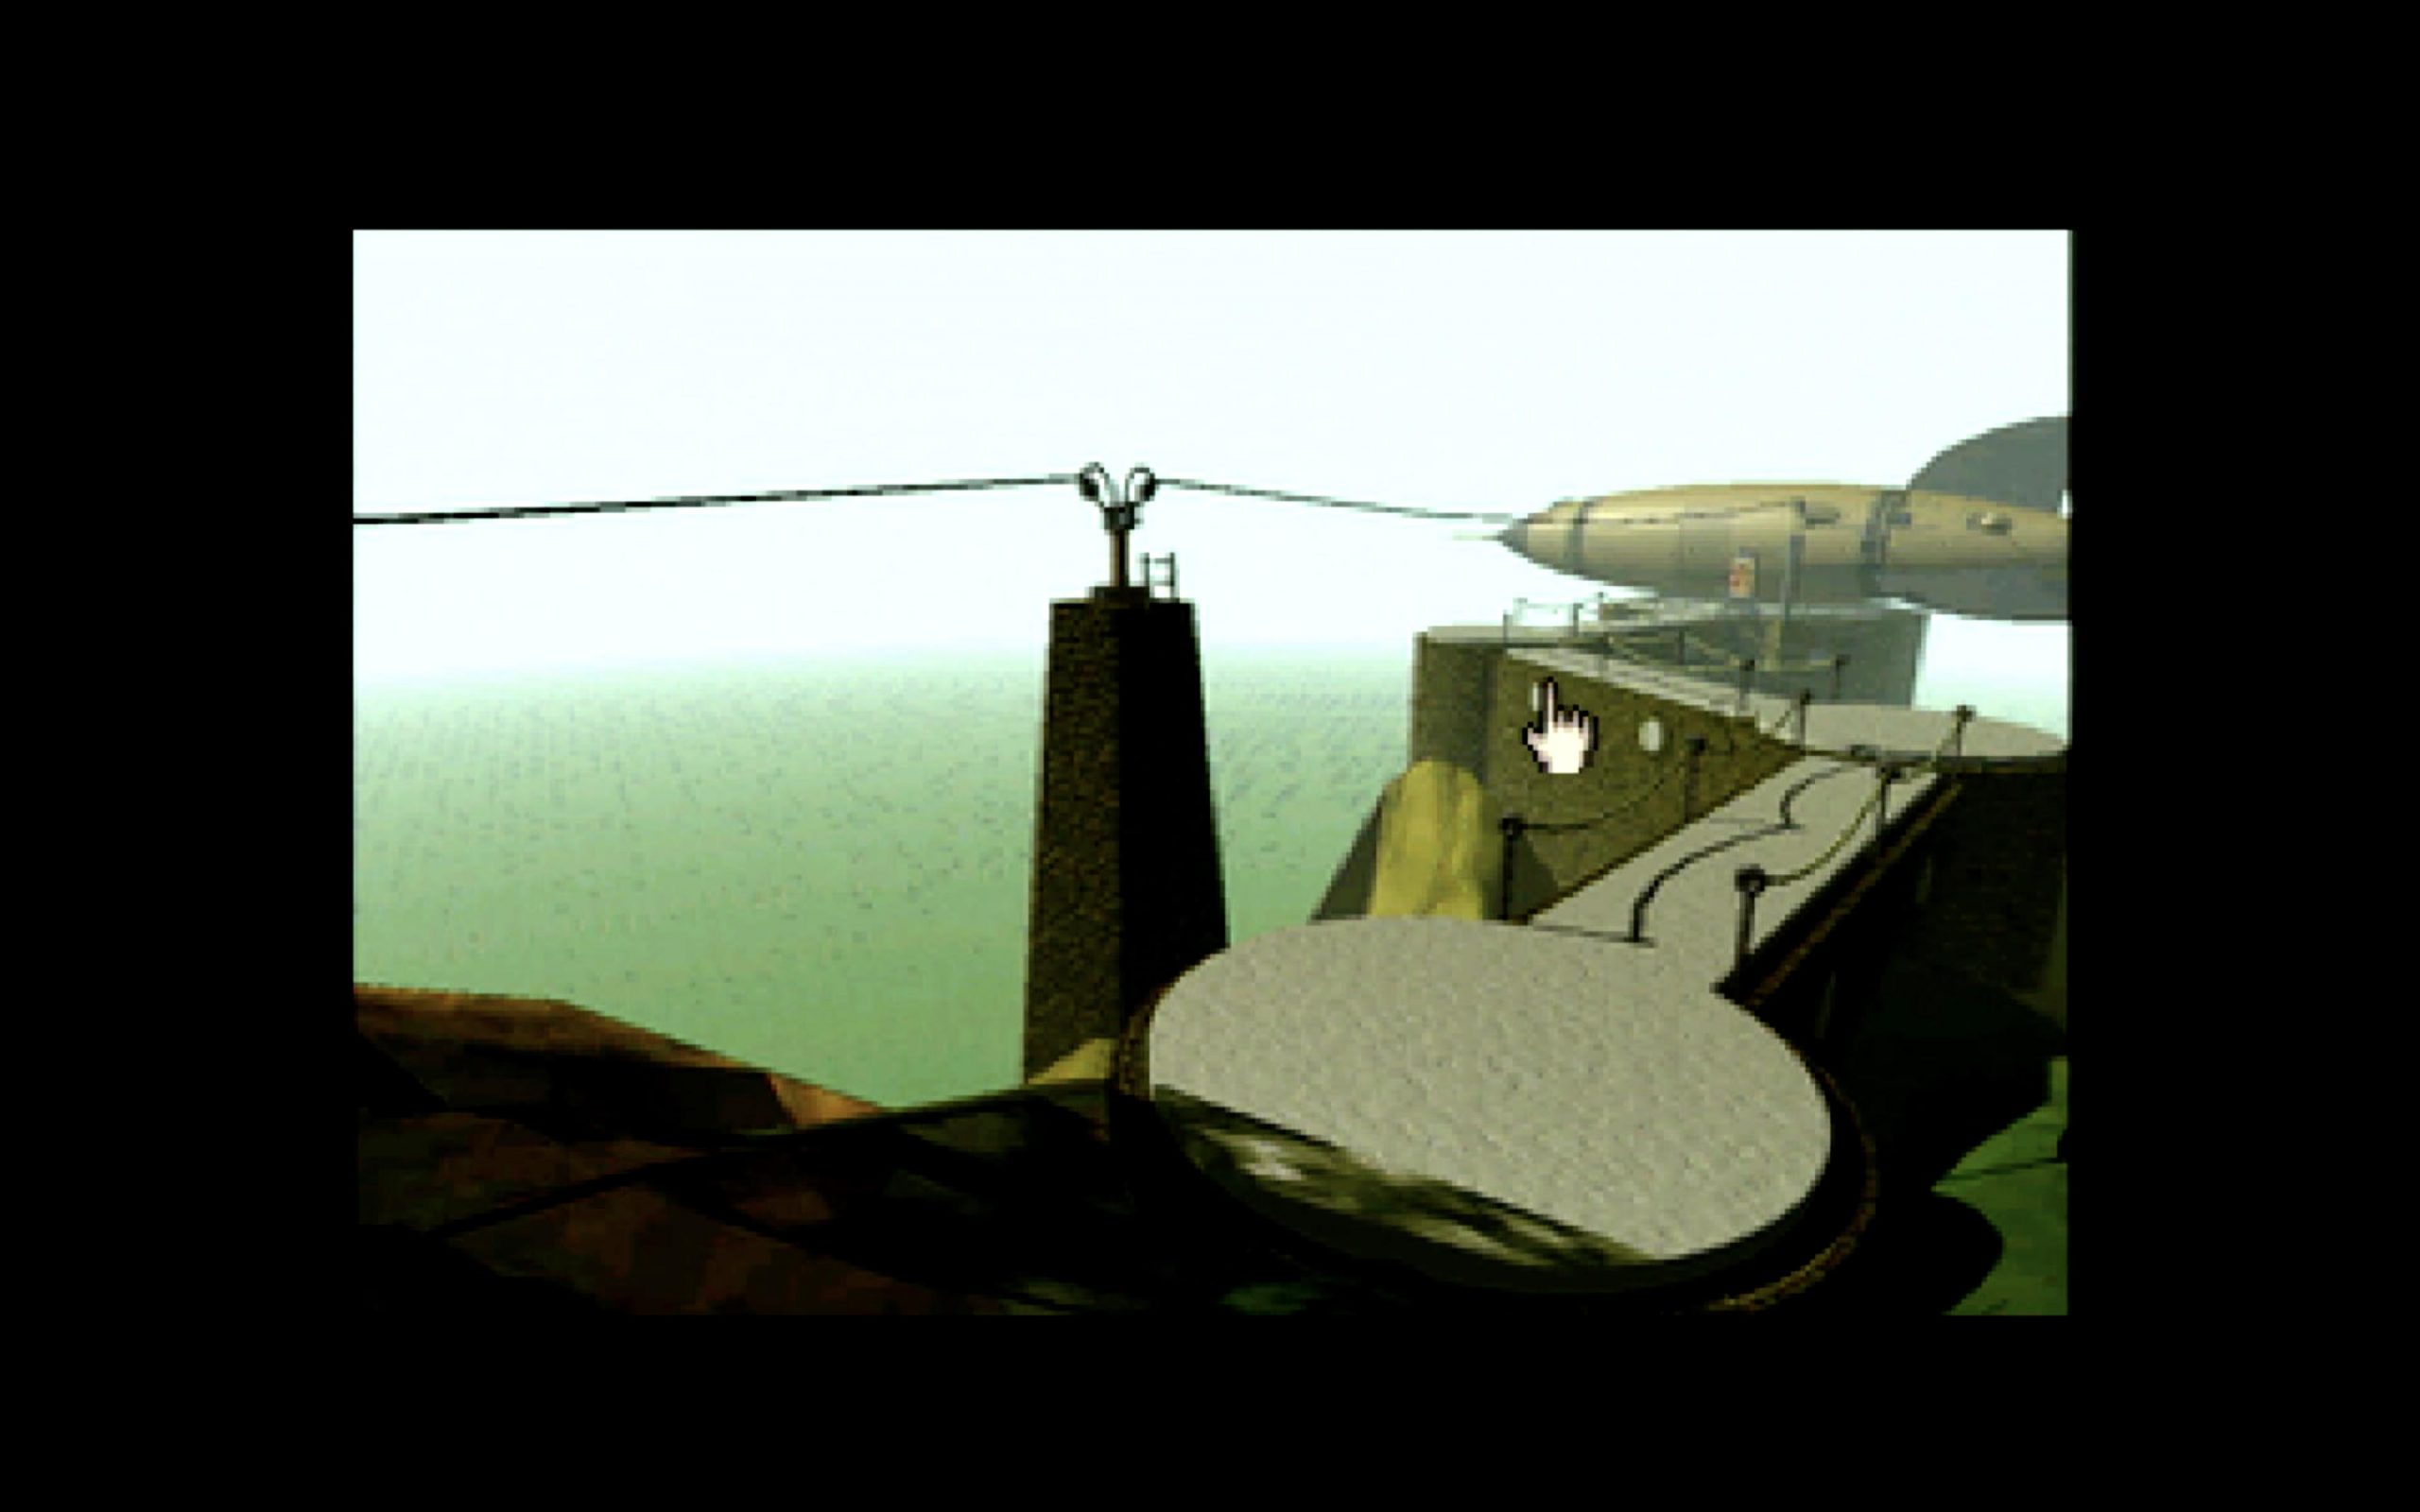
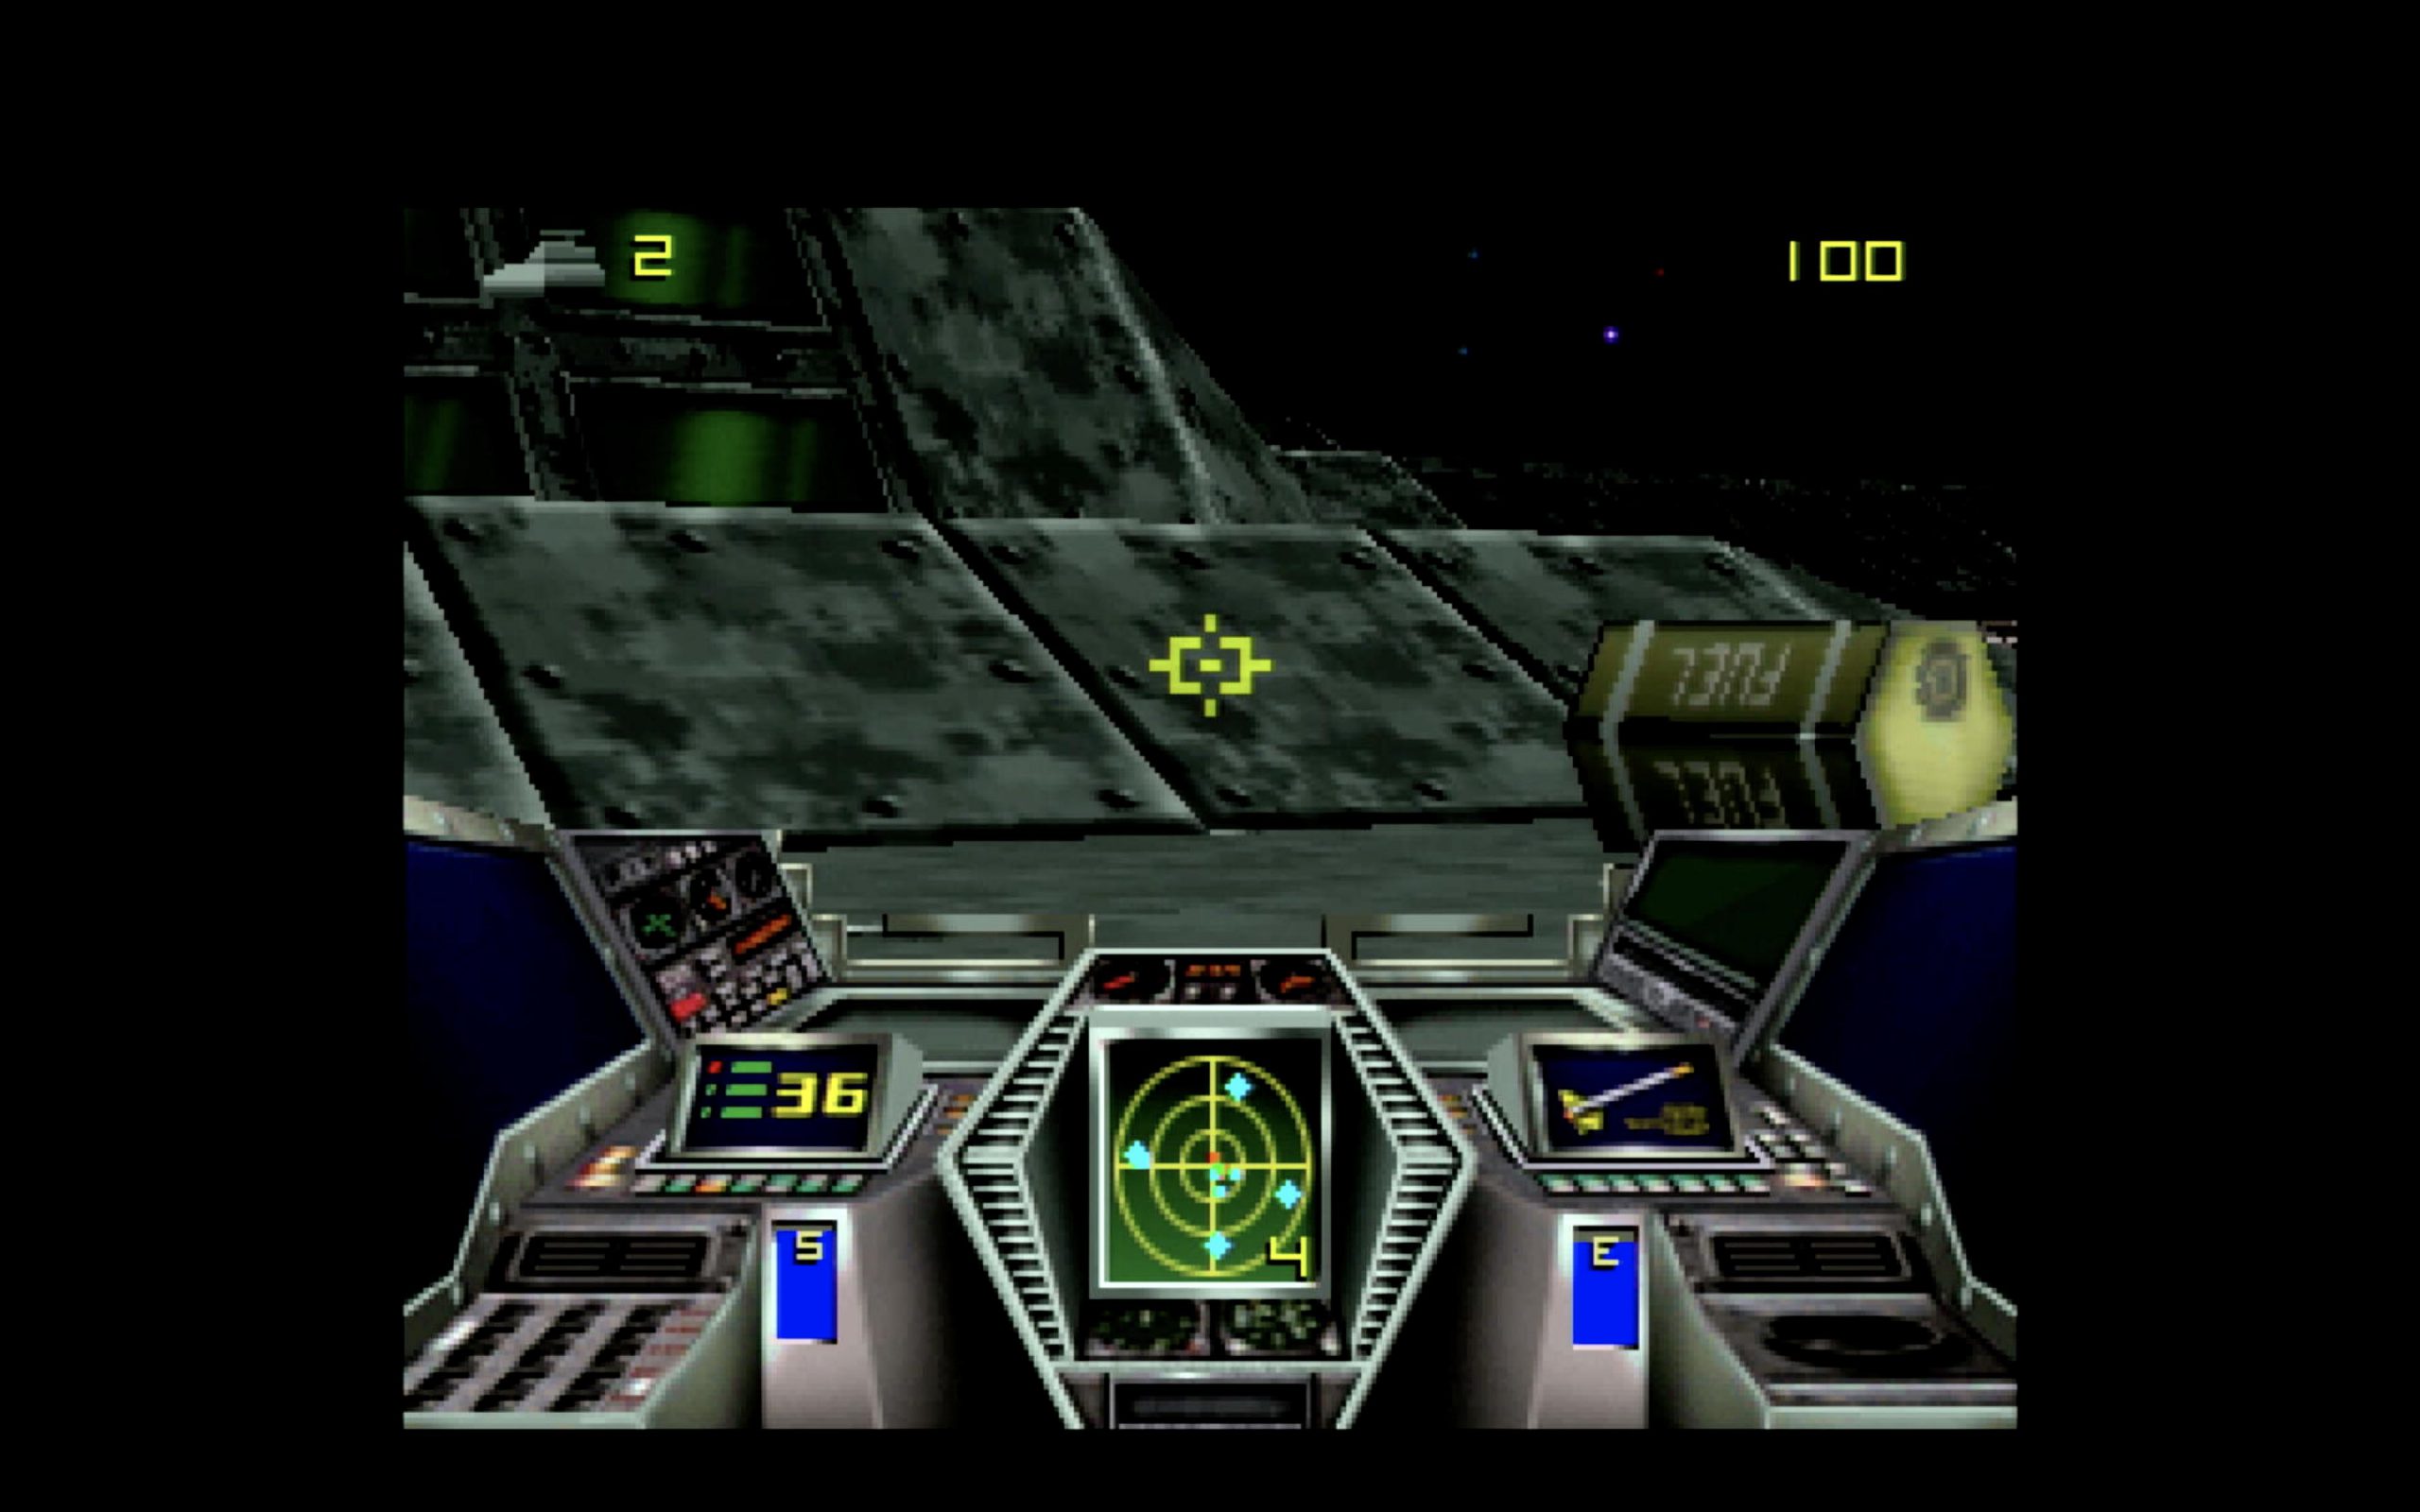
Screen Captures
The below images were all captured using the JAG2SNES to HD Retrovision Cables to OSSC and finally to a Cheap Capture device.